
Breast self examination model picture
Reading File
Searching Images
breast self examination steps illustrated clinical patient education diagram
Searching the Web
breast self awareness self examination steps illustrations official patient education
Searching PubMed
breast self-examination
Reading Web Page
https://www.breastcancer.org/screening-testing/breast-self-e…
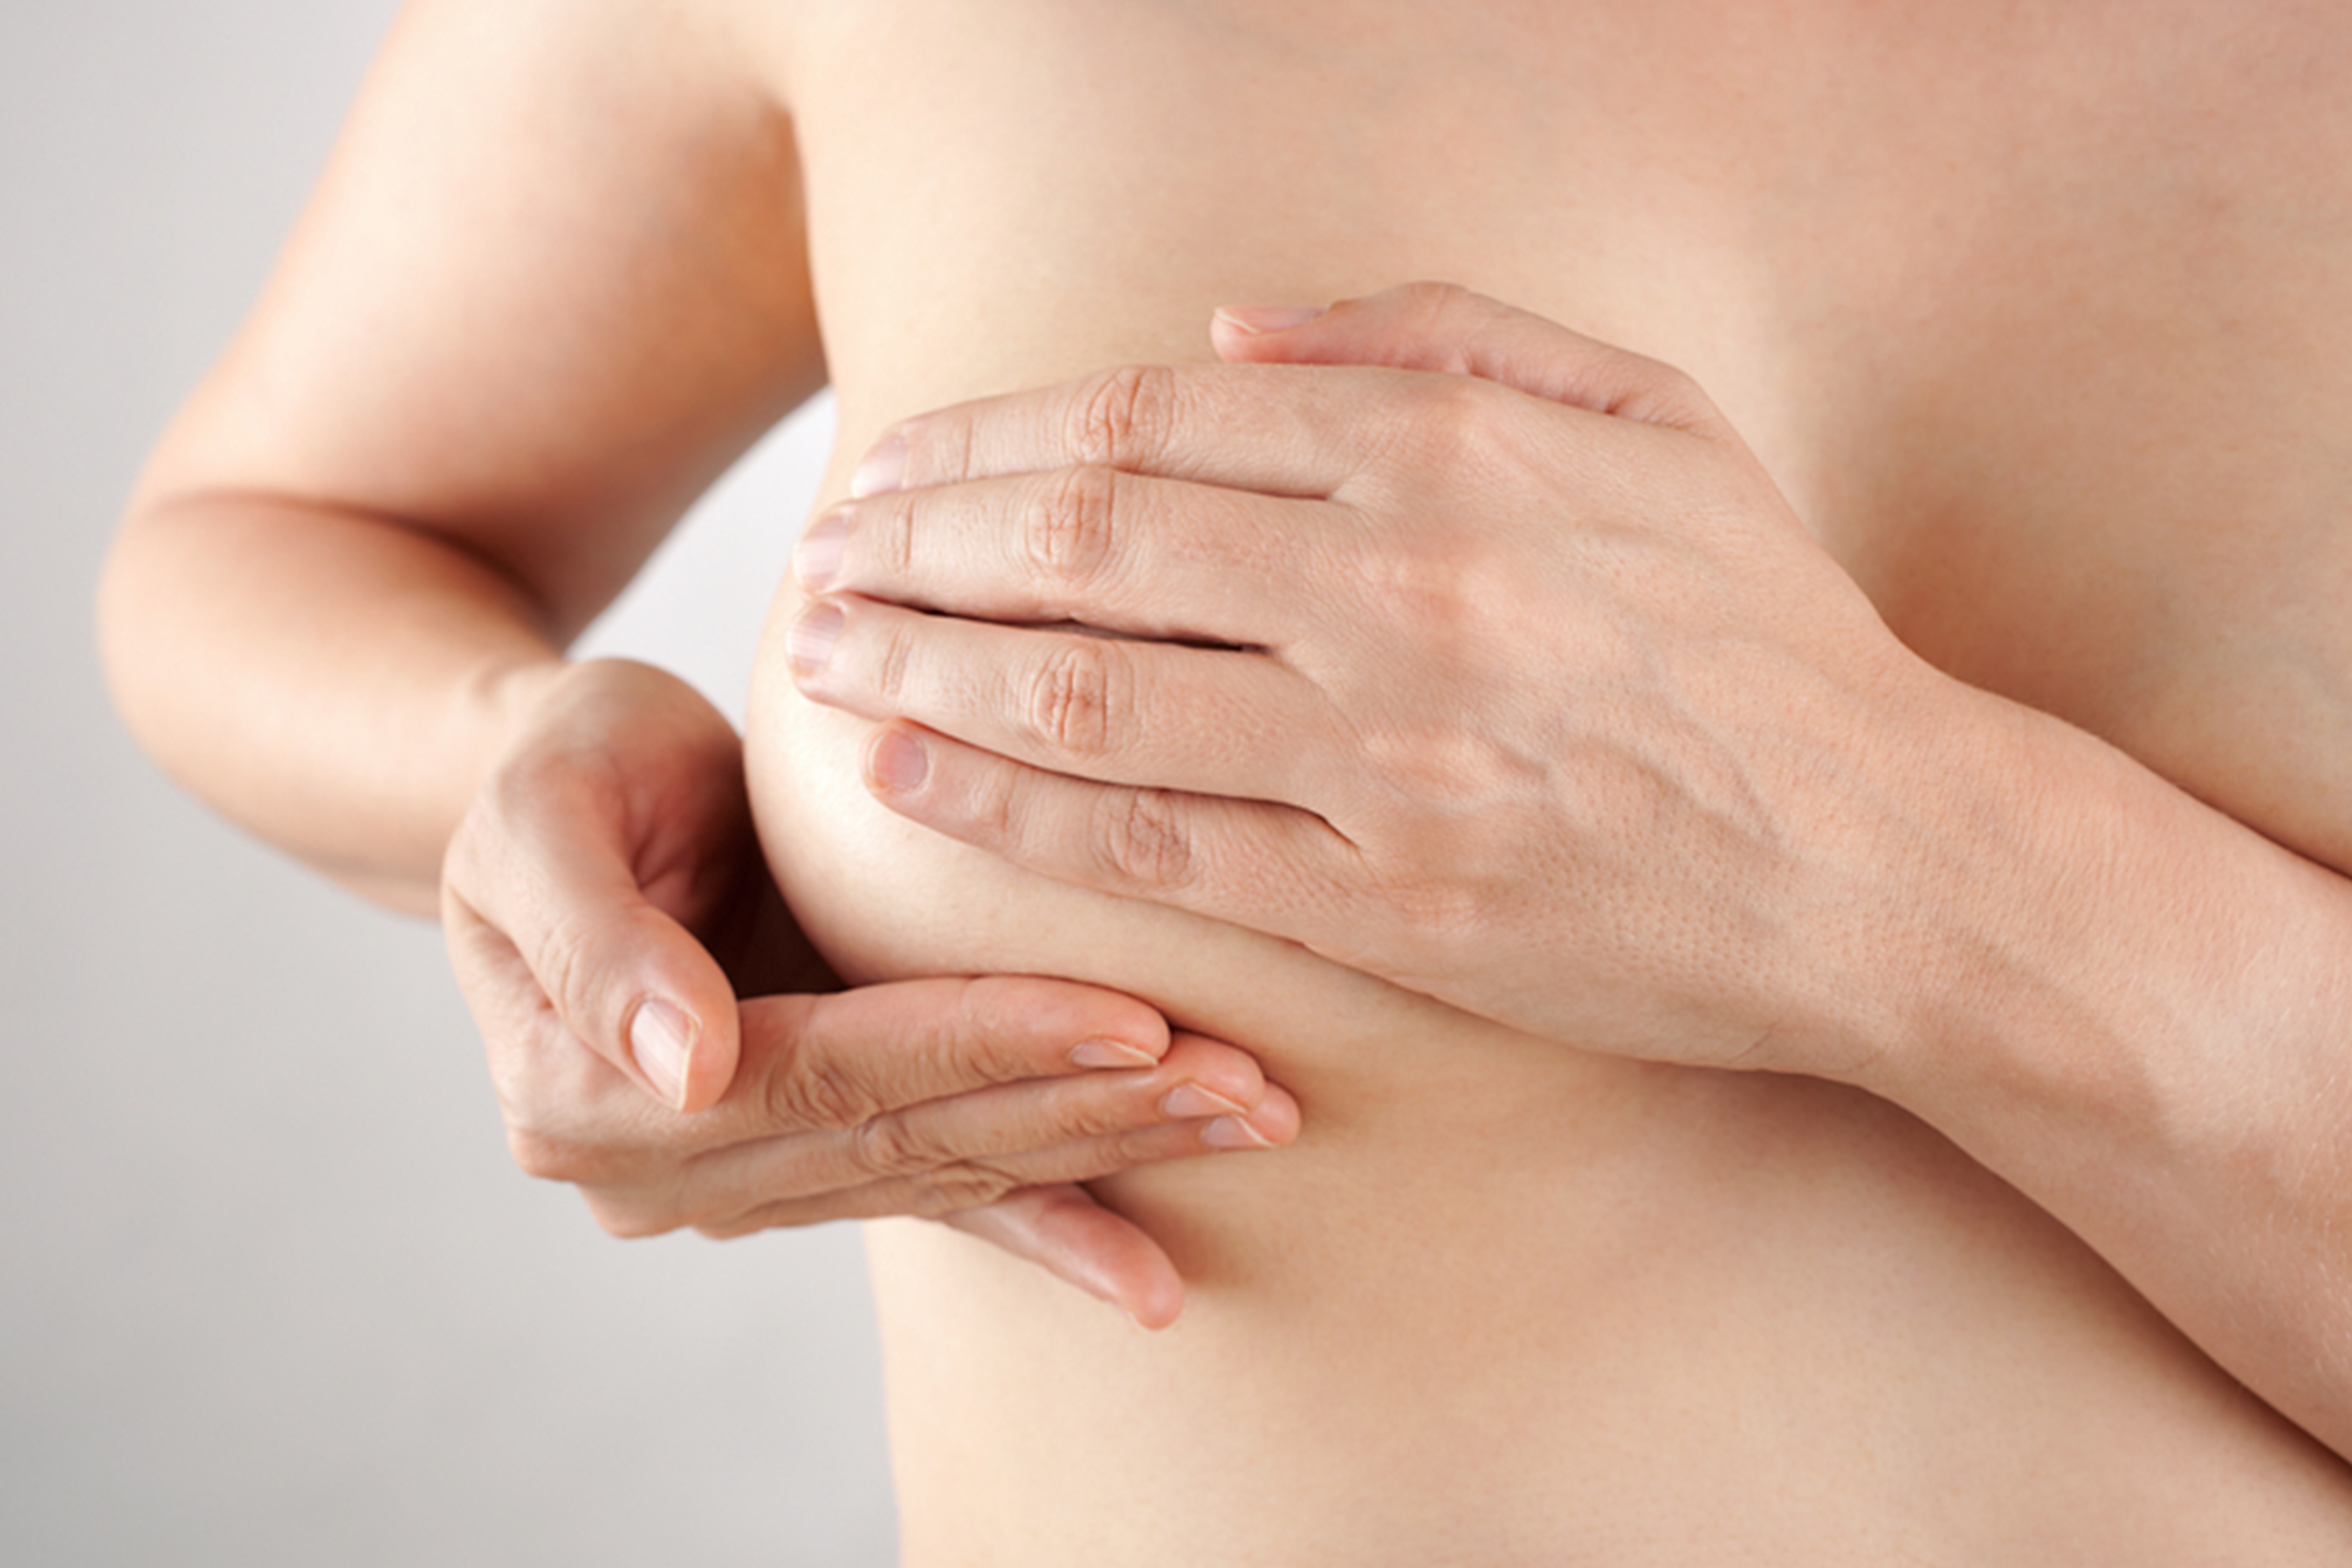
A breast self-examination model typically demonstrates:
- Looking in a mirror with arms down, then raised.
- Checking each breast in a circular pattern, including the armpit and collarbone area.
- Checking the nipple and surrounding skin.
If you notice a new lump, skin dimpling, nipple inversion, bloody discharge, redness, or a persistent change, arrange a clinical assessment. The NHS breast-check guide gives simple steps and warning signs.
Explain the correct self-examination steps
Reading File
Finding Sources
Searching PubMed
breast self-examination
Searching the Web
NHS how to check breasts chest self examination steps
Breast self-examination / breast awareness: correct steps
Check about once a month, ideally at the same point in your menstrual cycle. Many people find it easiest a few days after periods end, when breasts are least tender. The aim is to learn what is normal for you, not to diagnose cancer.
-
Look in a mirror
- Stand with arms relaxed by your sides.
- Look for a new difference in size or shape, swelling, skin dimpling or puckering, redness, rash, or a nipple that has newly turned inward.
- Repeat with both arms raised overhead, then with hands pressed on hips to tighten the chest muscles.
-
Feel each breast or chest area
- Use the pads of the three middle fingers of your opposite hand.
- Keep fingers flat and make small circular movements.
- Cover the entire area systematically: from the collarbone down to the lower breast line, from the breastbone across to the armpit.
- Check the armpit for a lump or swelling.
- Use light pressure for superficial tissue, medium pressure for the middle layer, and firmer pressure for deeper tissue. It should not be painful.
-
Check the nipple
- Feel around and over each nipple.
- Note any new lump, rash, change in direction or shape, or unexpected discharge, especially bloody discharge. Do not repeatedly squeeze the nipple to try to produce discharge.
-
Repeat while lying down or in the shower
- Lying down, place a pillow or folded towel under the shoulder on the side being checked, with that arm behind the head.
- Repeat the same systematic pattern. In the shower, soapy skin may make palpation easier.
Seek medical advice if you notice
- A new breast, chest, or armpit lump or persistent thickening
- Skin dimpling, puckering, redness, or an orange-peel appearance
- New nipple inversion, nipple rash, ulcer, or unusual discharge
- A persistent change in breast size or shape
- Persistent focal breast or armpit pain
Breast self-checking is useful for noticing changes, but it does not replace recommended mammography or clinical assessment. Current guidance emphasizes regular breast awareness rather than relying on formal self-examination as a screening test. The NHS breast-check instructions advise examining the whole area up to the collarbone and into the armpit.
Show a labeled breast self-examination diagram
Reading File
Searching Images
labeled breast self examination diagram circular palpation mirror arms raised steps
Searching the Web
labeled breast self examination diagram steps official patient education
Searching PubMed
breast self-examination
Loading Image
Labeled breast self-examination diagram

Key points shown in the diagram:
- Look in a mirror with arms relaxed, raised, and hands on hips. Check for new dimpling, swelling, redness, skin changes, or nipple changes.
- Feel the whole breast systematically using the pads of the three middle fingers in small circles.
- Cover the area from the collarbone to the lower breast line, and from the breastbone to the armpit.
- Check the armpit and nipple as well.
- Use light, medium, and firm pressure, without causing pain.
The NHS guidance recommends checking for changes that are new or unusual for you.
This is a shared conversation. Sign in to Orris to start your own chat.