
IMIL tibia nailing steps
Reading File
Finding Sources
Searching PubMed
tibial fractures AND intramedullary nailing
Searching the Web
AO Surgery Reference tibial shaft fracture intramedullary nailing technique
Finding Sources
Reading Web Page
https://surgeryreference.aofoundation.org/orthopedic-trauma/…
Reading File
IMIL tibial nailing: operative sequence
For trained orthopaedic trauma surgeons, using the specific implant system’s technique guide and fluoroscopy.
-
Preoperative planning
- AP and lateral radiographs including knee and ankle.
- Classify fracture, assess soft tissues, document neurovascular status and compartment status.
- Choose nail length and diameter from templating or contralateral tibial measurement.
- Give antibiotic prophylaxis. Debride and irrigate appropriately if open fracture.
-
Positioning and imaging
- Supine on radiolucent table.
- Place a bump under ipsilateral hip if needed to neutralize rotation.
- Position leg to permit AP and lateral C-arm imaging from knee to ankle.
- Use infrapatellar, parapatellar, or semi-extended suprapatellar approach based on fracture pattern and surgeon preference.
-
Achieve reduction before nailing
- Restore length, alignment, and rotation with manual traction and reduction clamps as required.
- For difficult proximal or distal-third fractures, consider temporary external distractor, percutaneous clamp, blocking (Poller) screws, or temporary unicortical plate.
- Do not depend on the advancing nail to reduce a proximal fracture. Incorrect start point or trajectory commonly produces valgus and procurvatum. Rockwood and Green’s Fractures in Adults, 10th ed., p. 3220.
-
Establish the entry point
- Make approach-specific incision and protect patellar tendon or intra-articular structures.
- Under AP and lateral fluoroscopy, insert entry guidewire.
- Typical entry point: in AP, medial aspect of lateral tibial spine and in line with canal; in lateral view, at the anterior edge of the tibial plateau/anterior joint line, with correct canal trajectory. The AO description of the suprapatellar approach details this fluoroscopic localization.
-
Open proximal cortex and insert guidewire
- Open cortex with awl, cannulated entry reamer, or opening drill.
- Pass ball-tipped guidewire through the reduced fracture to the distal tibia, stopping just proximal to the plafond.
- Confirm on AP and lateral images that the wire is central in the distal fragment and reduction is maintained.
-
Measure and ream
- Measure nail length over the guidewire.
- Sequentially ream over the guidewire while maintaining fracture reduction.
- Common principle: ream approximately 1 to 1.5 mm above intended nail diameter, subject to fracture, patient, and implant considerations.
- Avoid aggressive reaming in severely compromised soft tissue or when clinical circumstances favor an unreamed construct.
-
Insert nail
- Assemble selected nail with insertion handle.
- Insert over guidewire gently, maintaining reduction. Do not hammer across a malreduced fracture.
- Advance to an appropriate depth: proximal end not prominent at entry site and distal end not excessively close to ankle joint.
- Reconfirm length, alignment, rotation, and sagittal/coronal position with fluoroscopy.
-
Interlocking screws
- Insert proximal interlocking screws using targeting jig.
- Insert distal interlocking screws using freehand fluoroscopic technique or an aiming device.
- Use static locking for unstable, comminuted, segmental, or length-unstable fractures. Dynamic locking may be selected only where appropriate for fracture pattern and planned compression.
- Verify all screws are bicortical, do not enter joints, and provide intended rotational and axial stability. AO notes that proximal and distal locking improves rotational and axial stability, particularly for more proximal or distal fracture patterns AO tibial nailing principles.
-
Final checks
- Fluoroscopic AP/lateral images of knee, fracture, and ankle.
- Confirm:
- Length and coronal/sagittal alignment
- Rotation clinically, comparing patellar position and foot progression with contralateral side
- Nail depth
- Screw length and position
- No distraction at fracture site
- Perform and record compartment and distal neurovascular examination.
-
Closure and postoperative care
- Irrigate and close wounds.
- Sterile dressings, analgesia, DVT prophylaxis as indicated.
- Obtain postoperative tibia AP/lateral radiographs.
- Weight-bearing status depends on fracture configuration, fixation quality, associated injuries, and surgeon protocol.
- Serial assessment for infection, compartment syndrome, wound problems, loss of reduction, delayed union, and anterior knee pain.
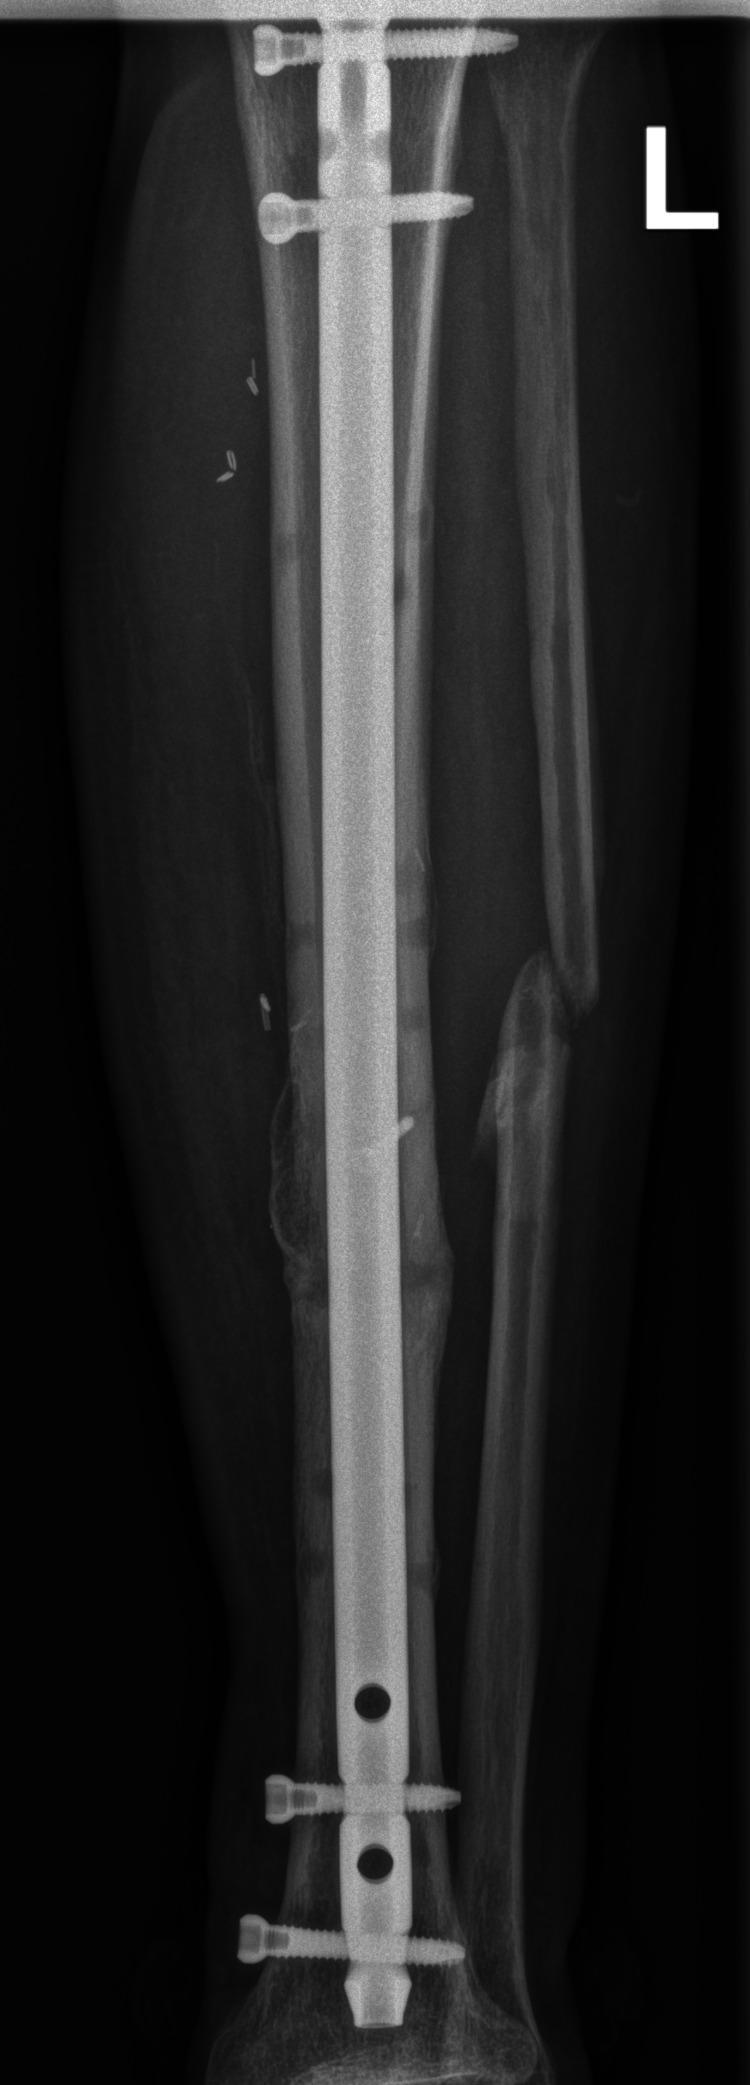
High-yield pitfalls
- Entry point too medial: valgus tendency.
- Entry trajectory too posterior: procurvatum tendency.
- Inadequate reduction before reaming/nail passage: malalignment.
- Missed rotational malreduction.
- Distal screw malposition or inadequate distal fixation.
- Nail too proud proximally: anterior knee symptoms.
- Overdistraction at fracture site: delayed union risk.
Recent evidence may affect approach selection: a 2026 systematic review/meta-analysis compared medial parapatellar with transpatellar approaches for pain and function (PMID: 42160470).
Infrapatellar tibial IMIL nailing steps
Reading File
Finding Sources
Searching PubMed
tibial intramedullary nailing infrapatellar
Searching the Web
site:surgeryreference.aofoundation.org infrapatellar approach tibial shaft intramedullary nailing entry point
Infrapatellar tibial IM interlocking nail: steps
Operative outline for orthopaedic trainees and surgeons. Follow the implant-specific operative manual and use biplanar fluoroscopy throughout.
-
Planning and preparation
- Obtain full-length AP/lateral tibia films including knee and ankle.
- Assess open injury, skin condition, compartment status, and distal neurovascular function.
- Plan nail length, diameter, locking pattern, and need for adjuncts such as Poller screws or temporary reduction aids.
- Give perioperative antibiotics and manage open fractures with appropriate debridement.
-
Position
- Supine on a radiolucent table.
- Knee flexed approximately 90 degrees over a radiolucent support.
- Prep and drape from above knee to foot so AP and lateral images of knee, fracture, and ankle can be obtained.
-
Reduce the fracture
- Apply longitudinal traction and correct translation, angulation, length, and rotation.
- Maintain reduction using manual traction, percutaneous clamp, distractor, external-fixator-assisted reduction, or temporary unicortical plate if required.
- This is particularly important in proximal-third fractures, where the nail may worsen valgus and apex-anterior deformity if reduction and entry trajectory are poor. Rockwood and Green’s Fractures in Adults, 10th ed., p. 3220.
-
Infrapatellar incision and tendon split
- Make a longitudinal midline incision centered over the proximal tibia/patellar tendon, extending about 3 to 5 cm proximal to the tibial plateau level.
- Split the patellar tendon longitudinally in line with the tibial canal and expose the anterior proximal tibia.
- Avoid an overly medial incision or tendon split, as this can make proper canal entry difficult.
-
Define the entry point under C-arm
- Obtain true AP and lateral views of the proximal tibia.
- AP view: entry point is at the medial aspect of the lateral tibial spine, approximately in line with the canal and about 3 mm medial to the tibial crest.
- Lateral view: entry is at the anterior edge of the joint line, just distal to the angle between the tibial plateau and anterior metaphysis.
- Insert an entry guidewire and confirm its position in both views before opening the cortex. The AO infrapatellar approach guide illustrates these landmarks.
-
Create the entry portal
- Open the cortex with an awl, cannulated opening reamer, or entry drill over the guidewire.
- Direct the entry instrument down the medullary canal, avoiding posterior cortical breach.
-
Pass the ball-tipped guidewire
- Under fluoroscopy, pass the ball-tipped wire across the fracture while maintaining reduction.
- Advance it centrally down the distal fragment to near the tibial plafond.
- Check AP and lateral images: wire should be central in the distal tibia and not penetrate ankle joint.
-
Measure and ream
- Measure the required nail length over the guidewire.
- Sequentially ream, typically to about 1 to 1.5 mm greater than planned nail diameter, while preserving reduction.
- Reassess alignment after reaming, especially for proximal and distal metaphyseal fractures.
-
Insert the nail
- Mount the nail on its insertion handle and advance it over the guidewire with controlled taps.
- Maintain reduction throughout. Do not force a nail if resistance occurs: reassess reduction, entry point, guidewire path, and canal diameter.
- Advance the nail to appropriate proximal and distal depth. In the distal tibia, the tip should be centrally placed, often around the level of the physeal scar, while avoiding ankle-joint penetration.
-
Lock the nail
- Insert proximal locking screws through the targeting jig.
- Insert distal locking screws under fluoroscopy using the freehand perfect-circle technique or the system-specific distal aiming device.
- Use static locking for length-unstable, comminuted, segmental, or metaphyseal fractures. Dynamic locking is selective and depends on fracture pattern and planned compression.
- Final assessment
- AP and lateral images of the knee, fracture, and ankle.
- Confirm:
- Coronal and sagittal alignment
- Fracture length and no distraction
- Rotation clinically, compared with the contralateral limb
- Central nail position
- Appropriate nail depth
- Bicortical locking screws of correct length
- No joint penetration
- Closure and aftercare
- Irrigate, repair or approximate tendon split as per local practice, and close in layers.
- Recheck distal pulses, motor function, sensation, and compartment status.
- Postoperative AP/lateral radiographs.
- Mobilization and weight-bearing are individualized according to fracture stability, fixation, soft tissues, and associated injuries.
Infrapatellar-specific pitfalls
- Too medial entry point: valgus malalignment, especially in proximal-third fractures.
- Entry angle too posterior: apex-anterior deformity/procurvatum.
- Excessive knee flexion: can make correct proximal trajectory difficult.
- Forceful nail insertion: can comminute fracture, incarcerate nail, or bend/twist guidewire.
- Unrecognized rotational error: always compare foot progression and cortical anatomy before locking.
- Patellar tendon or infrapatellar branch of saphenous nerve injury: potential contributor to anterior knee pain.
Recent comparative evidence exists for suprapatellar versus infrapatellar approaches, but it does not replace fracture-specific planning. A 2025 meta-analysis of randomized trials is indexed as PMID: 41034881, and a 2024 systematic review/meta-analysis as PMID: 39325161.
This is a shared conversation. Sign in to Orris to start your own chat.