
Capline bandaging procedure
Reading File
The capeline bandage is a figure-of-8 bandage used for the head or stump of an amputation. Let me search the textbooks for the detailed procedure.
Searching sources...
Finding Sources
Finding Sources
Searching the Web
capeline bandaging procedure technique steps head stump
Finding Sources
Finding Sources
Reading Web Page
https://www.slideshare.net/slideshow/bandaging-154526312/154…
Finding Sources
Searching the Web
capeline bandage head stump procedure nursing detailed steps two bandages
I found relevant textbook sections in Pye's Surgical Handicraft. Let me read them now.
Reading File
Reading File
Now let me fetch the head bandage figure from the textbook and check if there's a specific "capeline" illustration:
Reading File
Loading Image
I now have comprehensive information from Pye's Surgical Handicraft plus the head bandage illustration. Here is the full answer:
Capeline Bandage - Procedure
Definition
The capeline bandage (from French capeline, meaning a cap or hood) is a roller bandage technique that covers the head or an amputation stump like a cap. It combines horizontal (circular) anchor turns with alternating recurrent (front-to-back) turns that progressively cover the entire surface.
Types of Application
- Head capeline - for scalp wounds, post-neurosurgical dressings, or head injuries
- Stump capeline - for the end of an amputated limb
HEAD CAPELINE BANDAGE
Equipment Required
- 5-10 cm (2-4 in) cotton or crepe bandage
- Cotton wool (for padding behind ears)
- Safety pin or adhesive strapping to secure
- An assistant (to hold recurrent turns in place, unless the patient is co-operative)
Pre-procedural Steps
- Assess the wound; ensure any dressing is clean and in position
- Insert cottonwool padding behind the ears to protect them
- Position the patient comfortably, preferably seated
- Face the patient while applying the bandage
Procedure - Step by Step
Step 1 - Anchor turns (circular/horizontal):
- Begin at the right ear with a horizontal circular turn
- Carry the bandage backwards, low over the occiput (back of head)
- Bring it forward over the left ear, across the forehead and back to the starting point
- Repeat this horizontal turn to anchor firmly (2 circular turns total)
Step 2 - First recurrent (central) turn:
- Over the starting point, make a reverse turn (fold the bandage)
- Guide the bandage over the centre of the head to the left ear
Optional extended central turn: The central bandage may be continued down the left side of the head, under the chin, up the right side, over the right ear, up and over the head to one side of the first turn, then to the left ear - this adds better coverage of the sides.
Step 3 - Alternating recurrent turns:
- At the left ear, reverse the bandage again
- Guide it back over the head, to one side of the central bandage, to the right ear
- Continue passing turns to and fro over the head - first one side, then the other side of the central bandage
- Each successive turn should overlap the previous by 2/3 of the bandage width
- Continue until the entire scalp is covered
Step 4 - Finish:
- Complete with two horizontal circular turns around the head
- Secure in front with a safety pin or adhesive strapping
- Ensure the pin/knot is away from the wound
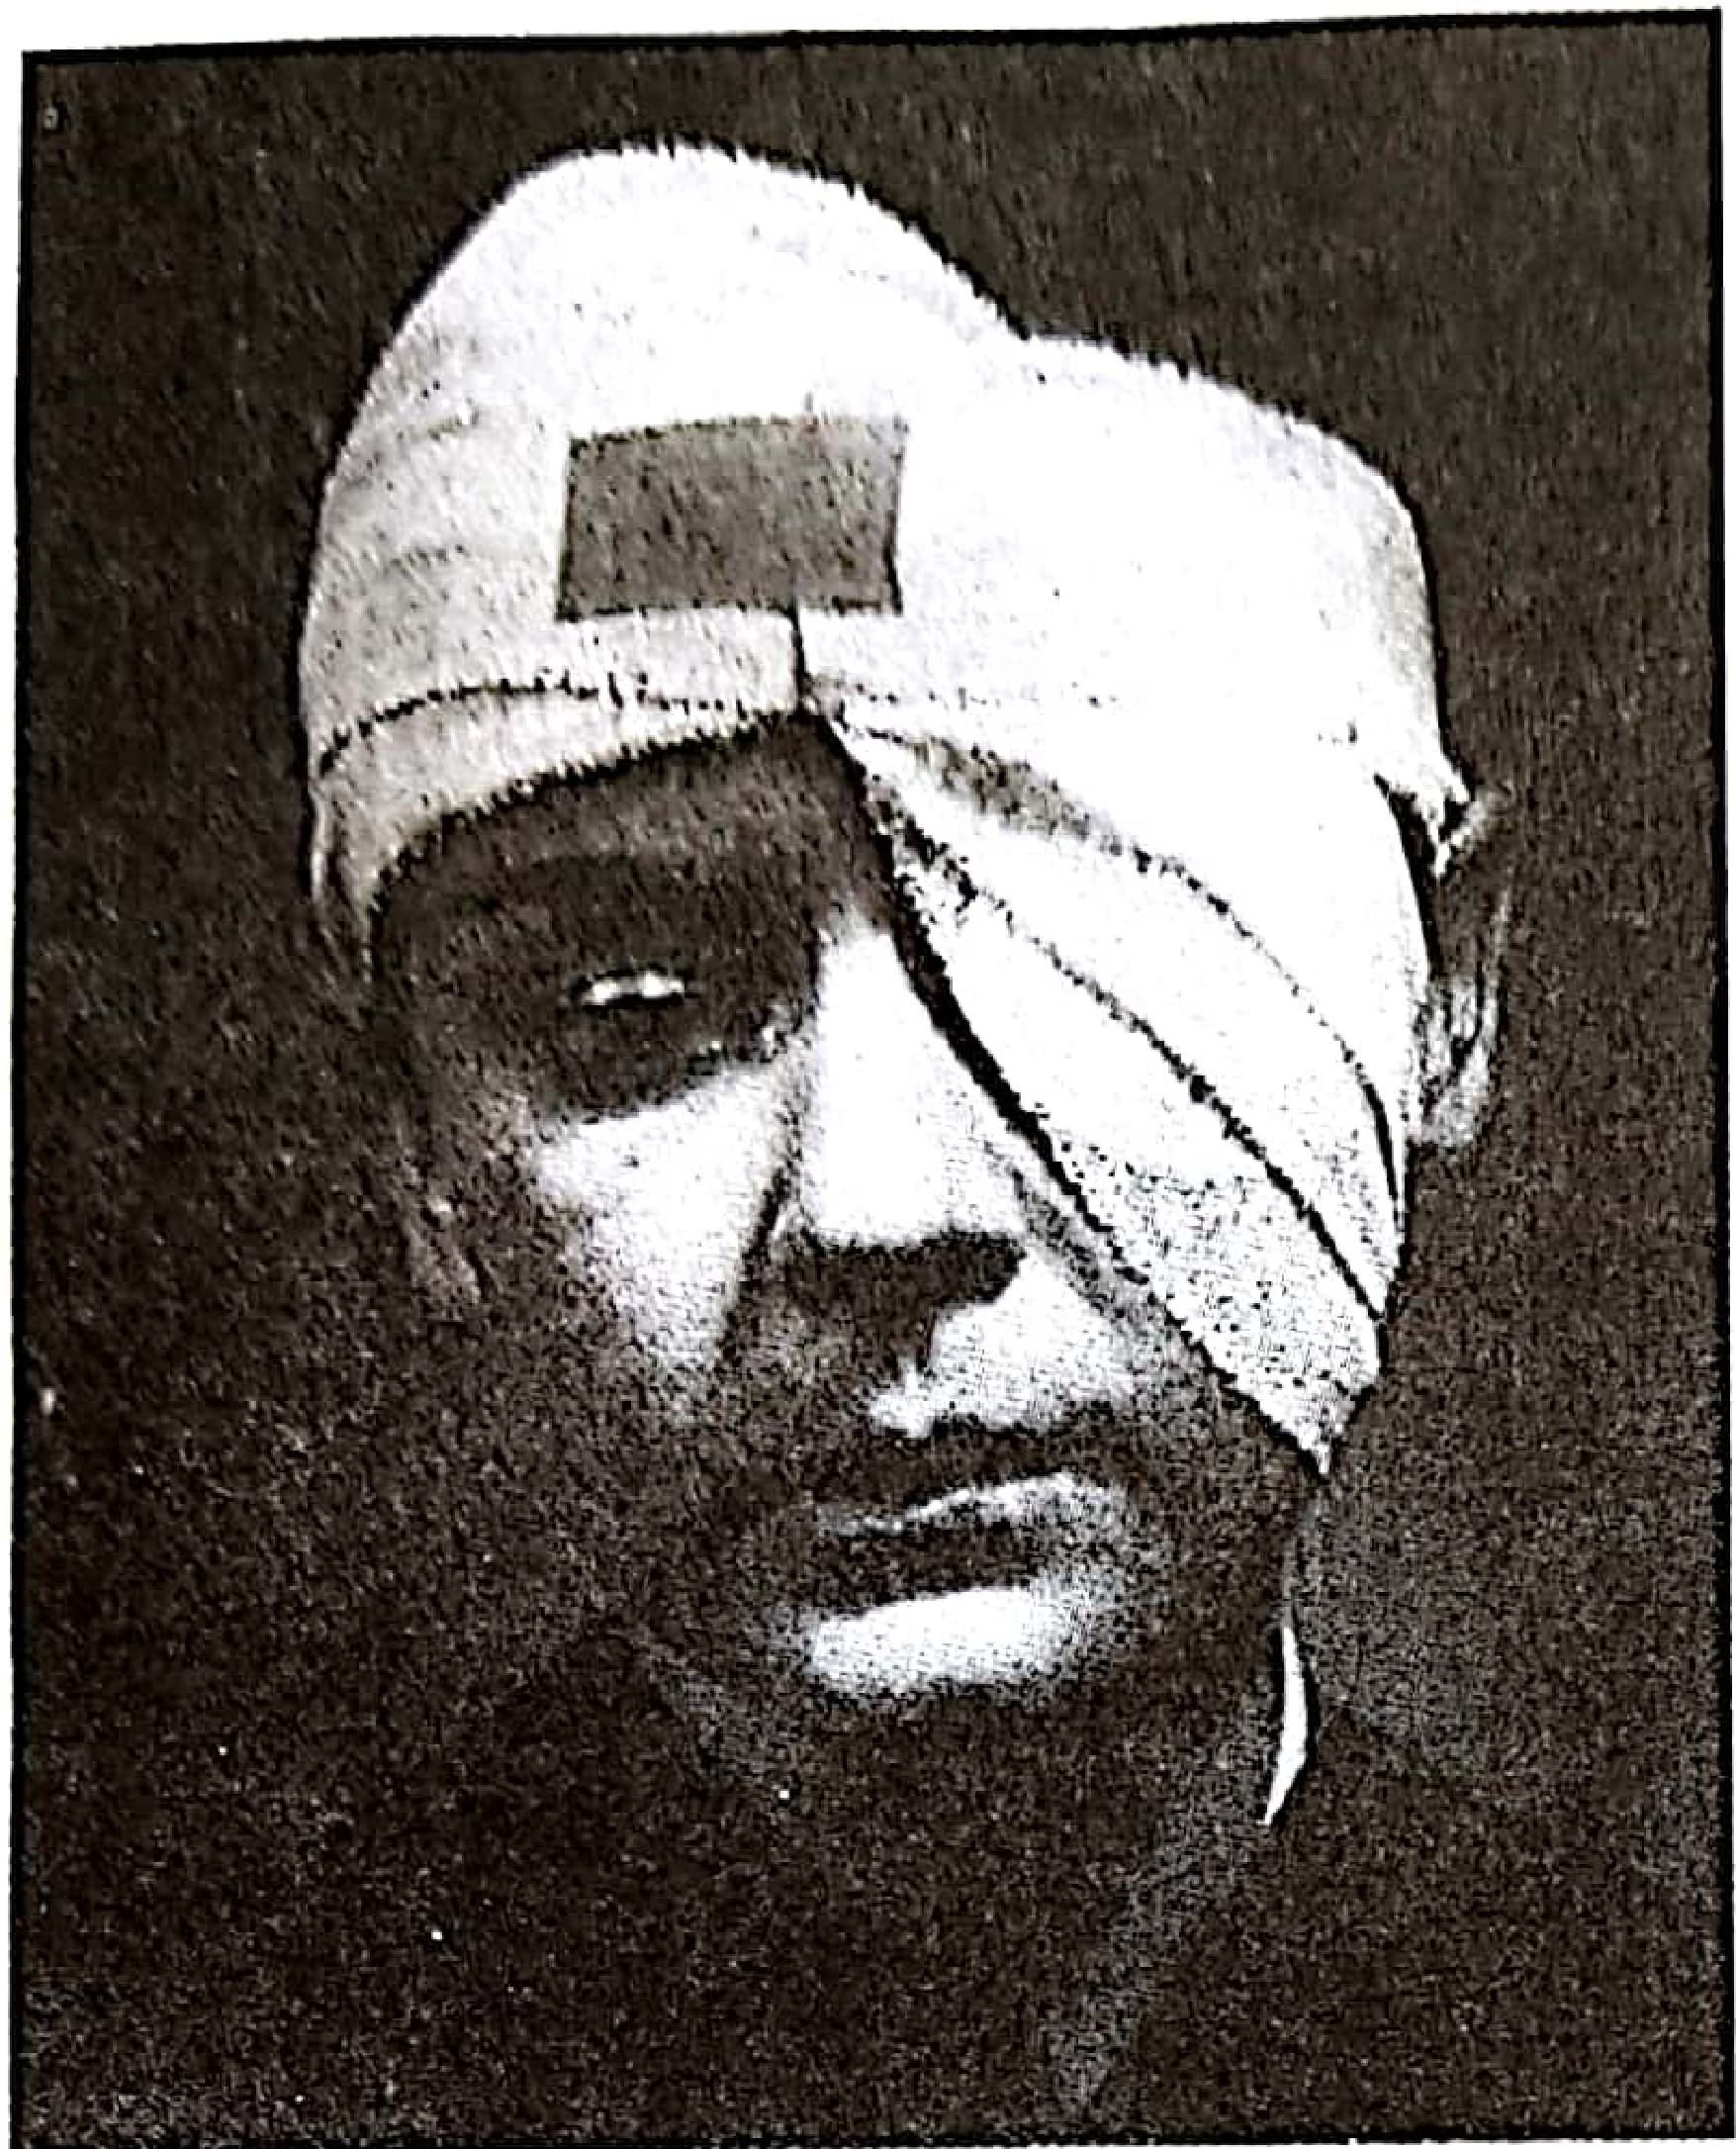
Completed capeline/head bandage - note the horizontal anchoring turns at the forehead, with recurrent turns covering the crown (Pye's Surgical Handicraft, 22nd Ed., Fig. 6.2)
STUMP CAPELINE BANDAGE
Purpose
Applied to condition the amputated stump for prosthetic limb wearing. Goals:
- Prevent terminal oedema of the stump
- Encourage healthy venous return
- Tone up flabby residual tissue
- Prevent formation of an adductor roll of flesh (which would cause discomfort with a prosthesis)
Equipment
- Rayon and elastic (crepe/elastic) bandage - size depends on stump location
- Must be applied from the time of amputation onwards
Procedure (General Principle)
Step 1: Make 2 circular turns to anchor the bandage around the limb above the stump end
Step 2: Carry the bandage over the centre of the stump to the same level behind, holding the turns front and back with the thumb and finger of the other hand
Step 3: Fix the loop with a straight turn around the stump
Step 4: Continue with figure-of-eight turns around the limb until the dressing is completely covered
Step 5: The degree of pressure must be tolerable but firm - apply from distal to proximal (tighter distally, looser proximally) to aid venous return
Site-Specific Notes
| Stump | Technique |
|---|---|
| Below-knee | Figure-of-eight turns starting above the lateral tibial condyle, diagonally across the front to the medial distal corner, then firmly up the posterior aspect; fixing turns above the joint only, leaving the patella exposed |
| Above-knee / through-knee | Figure-of-eight and recurrent turns covering the stump; an Elset 'S' elastic bandage (by Seton Products) is recommended for this level |
Incorrect stump bandaging is one of the major causes of delayed rehabilitation following amputation. If uncertain, consult the Limb Fitting Service.
Post-procedural Assessment
- Check that the bandage is not too tight (assess circulation - capillary refill, skin colour, warmth distally)
- Ask the patient about pain or discomfort - investigate immediately if present
- Ensure pins/ties are away from the wound
- Document: procedure, site bandaged, skin/wound condition, type of bandage, time of application, patient's comfort level
Bandage Width Guide
| Body Part | Bandage Width |
|---|---|
| Fingers | 1 inch (2.5 cm) |
| Head, arm, eye, ear | 2-2.5 inches (5-6 cm) |
| Lower limbs, shoulder | 3-3.5 inches (7.5-9 cm) |
| Trunk, groin | 4-6 inches (10-15 cm) |
Source: Pye's Surgical Handicraft, 22nd Edition - Chapter 6: Bandaging (Head bandage, p.72; Bandaging an amputation stump, p.77)
This is a shared conversation. Sign in to Orris to start your own chat.