
Palpation of Apex beat Evaluation of respiratory rate Evaluation of tricep jerk Examination of vegus nerve
apex beat palpation heart examination cardiac impulse
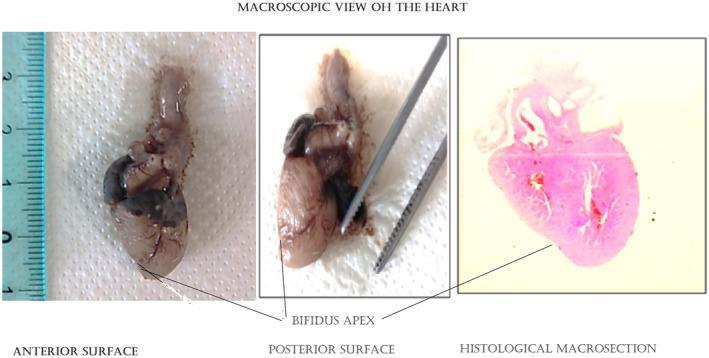
This composite educational image displays the macroscopic and histological examination of a fetal heart specimen, highlighting a rare congenital anomaly known as a bifid apex. The visual is divided into three panels: an anterior surface view, a posterior surface view, and a histological macrosection stained with Hematoxylin and Eosin (H&E). The anterior view includes a metric ruler for scale, illustrating the small size of the 19–20 week gestational age heart. Both gross photographs clearly demonstrate a notched or 'bifidus apex,' where the ventricular tip is divided into two distinct points. The middle panel shows the posterior aspect being manipulated with surgical forceps. The third panel provides a low-magnification histological macrosection, correlating the external bifid morphology with the internal myocardial structure. Clinically, this image illustrates morphological variations in fetal cardiac development and provides visual evidence of a bifid apex associated with potential myocardial architectural disorders such as noncompaction or hypertrophic cardiomyopathy.
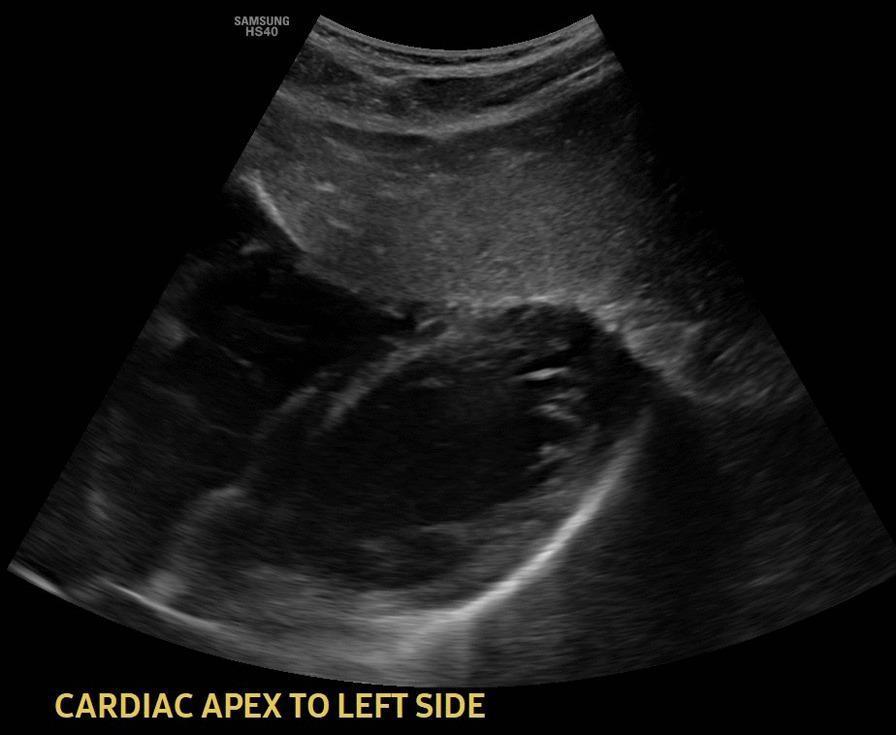
This diagnostic image is a 2D transthoracic ultrasound showing the cardiac apex in a levocardia position. The grayscale sonogram displays the heart as a predominantly hypoechoic (fluid-filled) structure with well-defined echogenic borders. The cardiac apex is oriented toward the lower-left portion of the frame. Surrounding the heart are tissues of varying intermediate echogenicity, representing pulmonary or mediastinal structures. A distinct, bright hyperechoic line visible at the inferior margin likely represents the pleura or diaphragmatic interface. The image is used in clinical education to confirm cardiac orientation (levocardia) and to assess gross structural morphology and chamber boundaries. No obvious focal lesions or abnormal fluid collections, such as pericardial effusion, are visible in this specific plane. This type of imaging is essential in primary care and cardiology for identifying situs abnormalities when correlated with abdominal organ positioning.
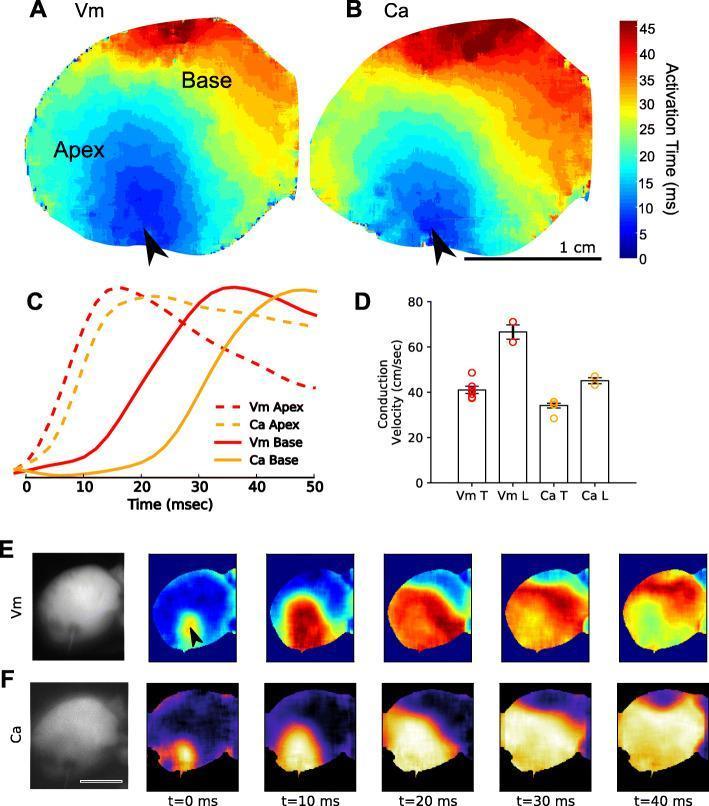
This composite educational graphic illustrates multiparametric optical mapping of cardiac excitation-contraction coupling in an isolated heart model. Panels A and B present isochronal activation maps for transmembrane voltage (Vm) and intracellular calcium (Ca), respectively, showing impulse propagation from the apex (blue) to the base (red) over a 45 ms scale. Panel C displays representative signal upstroke traces, highlighting the physiological lag between electrical depolarization (Vm) and calcium release (Ca) at both the apex and base. Panel D provides a bar chart comparing transverse (T) and longitudinal (L) conduction velocities for Vm and Ca, indicating significantly faster longitudinal Vm propagation compared to Ca. Panels E and F show sequential time-lapse frames (t=0 to 40 ms) of wavefront propagation following electrical pacing at the apex (indicated by arrows). These frames demonstrate the development of spatial heterogeneity and wavebreak in the calcium channel at t=40 ms, serving as a model for studying electrophysiological discontinuities and potential arrhythmogenic precursors.
triceps jerk reflex examination elbow
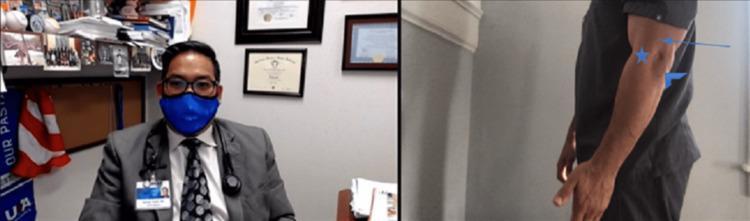
A split-screen educational clinical photograph demonstrating anatomical landmarks of the elbow for use in telemedicine or physical examination instruction. The left panel shows a clinician in a professional setting, providing context for a remote clinical assessment. The right panel displays a lateral view of a patient's left elbow in a slightly flexed position. Three key anatomical structures are annotated on the skin surface using blue graphic overlays: an arrow points to the triceps muscle/tendon area, an arrowhead indicates the bony prominence of the olecranon, and a star symbol marks the location of the lateral epicondyle of the humerus. This visual serves as a guide for surface anatomy identification during an orthopedic evaluation, specifically targeting areas relevant for assessing conditions like lateral epicondylitis, triceps tendinopathy, or olecranon bursitis.
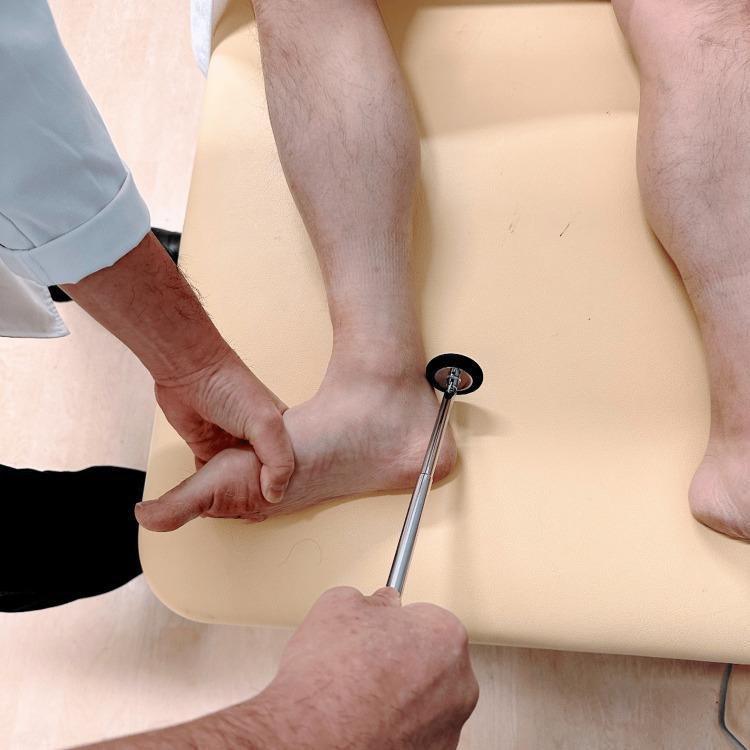
Clinical photograph demonstrating the technique for eliciting the Achilles tendon reflex (ankle jerk) in a patient positioned supine. The patient's lower extremity is placed in a 'frog-leg' position, characterized by hip abduction, external rotation, and knee flexion. The examiner’s non-dominant hand is shown providing gentle dorsiflexion at the metatarsal area to stretch the Achilles tendon, ensuring the gastrocnemius-soleus complex is under slight tension. The dominant hand holds a Taylor-style reflex hammer, with the rubber head positioned to strike the Achilles tendon just above its insertion on the calcaneus. This clinical maneuver evaluates the S1 and S2 nerve roots and the integrity of the tibial nerve. The photograph serves as an educational guide for neurological physical examination techniques, specifically for patients who cannot easily sit or kneel for reflex testing.
Clinical Examination: Four Key Techniques
1. Palpation of the Apex Beat
Normal Position
- 5th intercostal space (ICS), midclavicular line (MCL)
- May be visible in thin-chested adults
Technique
- Position the patient - start supine at 30°. Enhance sensitivity by placing the patient in the left lateral decubitus position (brings the heart closer to the chest wall).
- Inspect first - look for visible pulsations at the 5th ICS-MCL.
- Palpate with fingertips - place the fingertips over the precordium. Identify the outermost and lowermost impulse.
- Note the following characteristics:
- Location (normally 5th ICS, MCL)
- Size (normal: < 2 cm diameter)
- Character - moves briskly away from fingers (tapping character in normal/mitral stenosis)
- Amplitude - forceful vs. feeble
- Rate of force development - sustained vs. brief
Abnormal Findings
| Finding | Significance |
|---|---|
| Displaced laterally & downward | LV cavity enlargement (volume overload - MR, AR) |
| Sustained/heaving impulse | LV pressure overload (AS, hypertension) |
| Tapping apex beat | Mitral stenosis (palpable S1) |
| Diffuse/impalpable | COPD, obesity, pericardial effusion |
| Left parasternal lift/heave | RV pressure/volume overload, pulmonary hypertension |
| Forceful apex + weak delayed carotid pulse | Severe aortic stenosis |
- Harrison's Principles of Internal Medicine 22E, p.1907
2. Evaluation of Respiratory Rate (RR)
Normal Values
- Adults: 16-24 breaths/min (females: mean ~20.9; males: mean ~19.4 breaths/min in ED studies)
- Children < 3 years: 18-30 breaths/min (5th-95th percentile at 36 months); much wider range at birth (34-68 breaths/min)
Technique
- Observation method: Count the number of chest/abdominal wall movements over 60 seconds while the patient is unaware (e.g., while appearing to check pulse).
- Stethoscope method: Listen for breath sounds - note: auscultatory counts tend to be slightly higher than observation (mean difference ~2.6 breaths/min in awake children).
- Avoid alerting the patient - awareness of being observed alters the rate.
Important Caveats
- Significant interobserver variability - can differ by up to 6 breaths/min between observers.
- Intraobserver variability can be up to 5 breaths/min.
- RR increases with fever (tachypnea may reflect fever itself or underlying pneumonia).
- RR is an independent predictor of in-hospital mortality in community-acquired pneumonia.
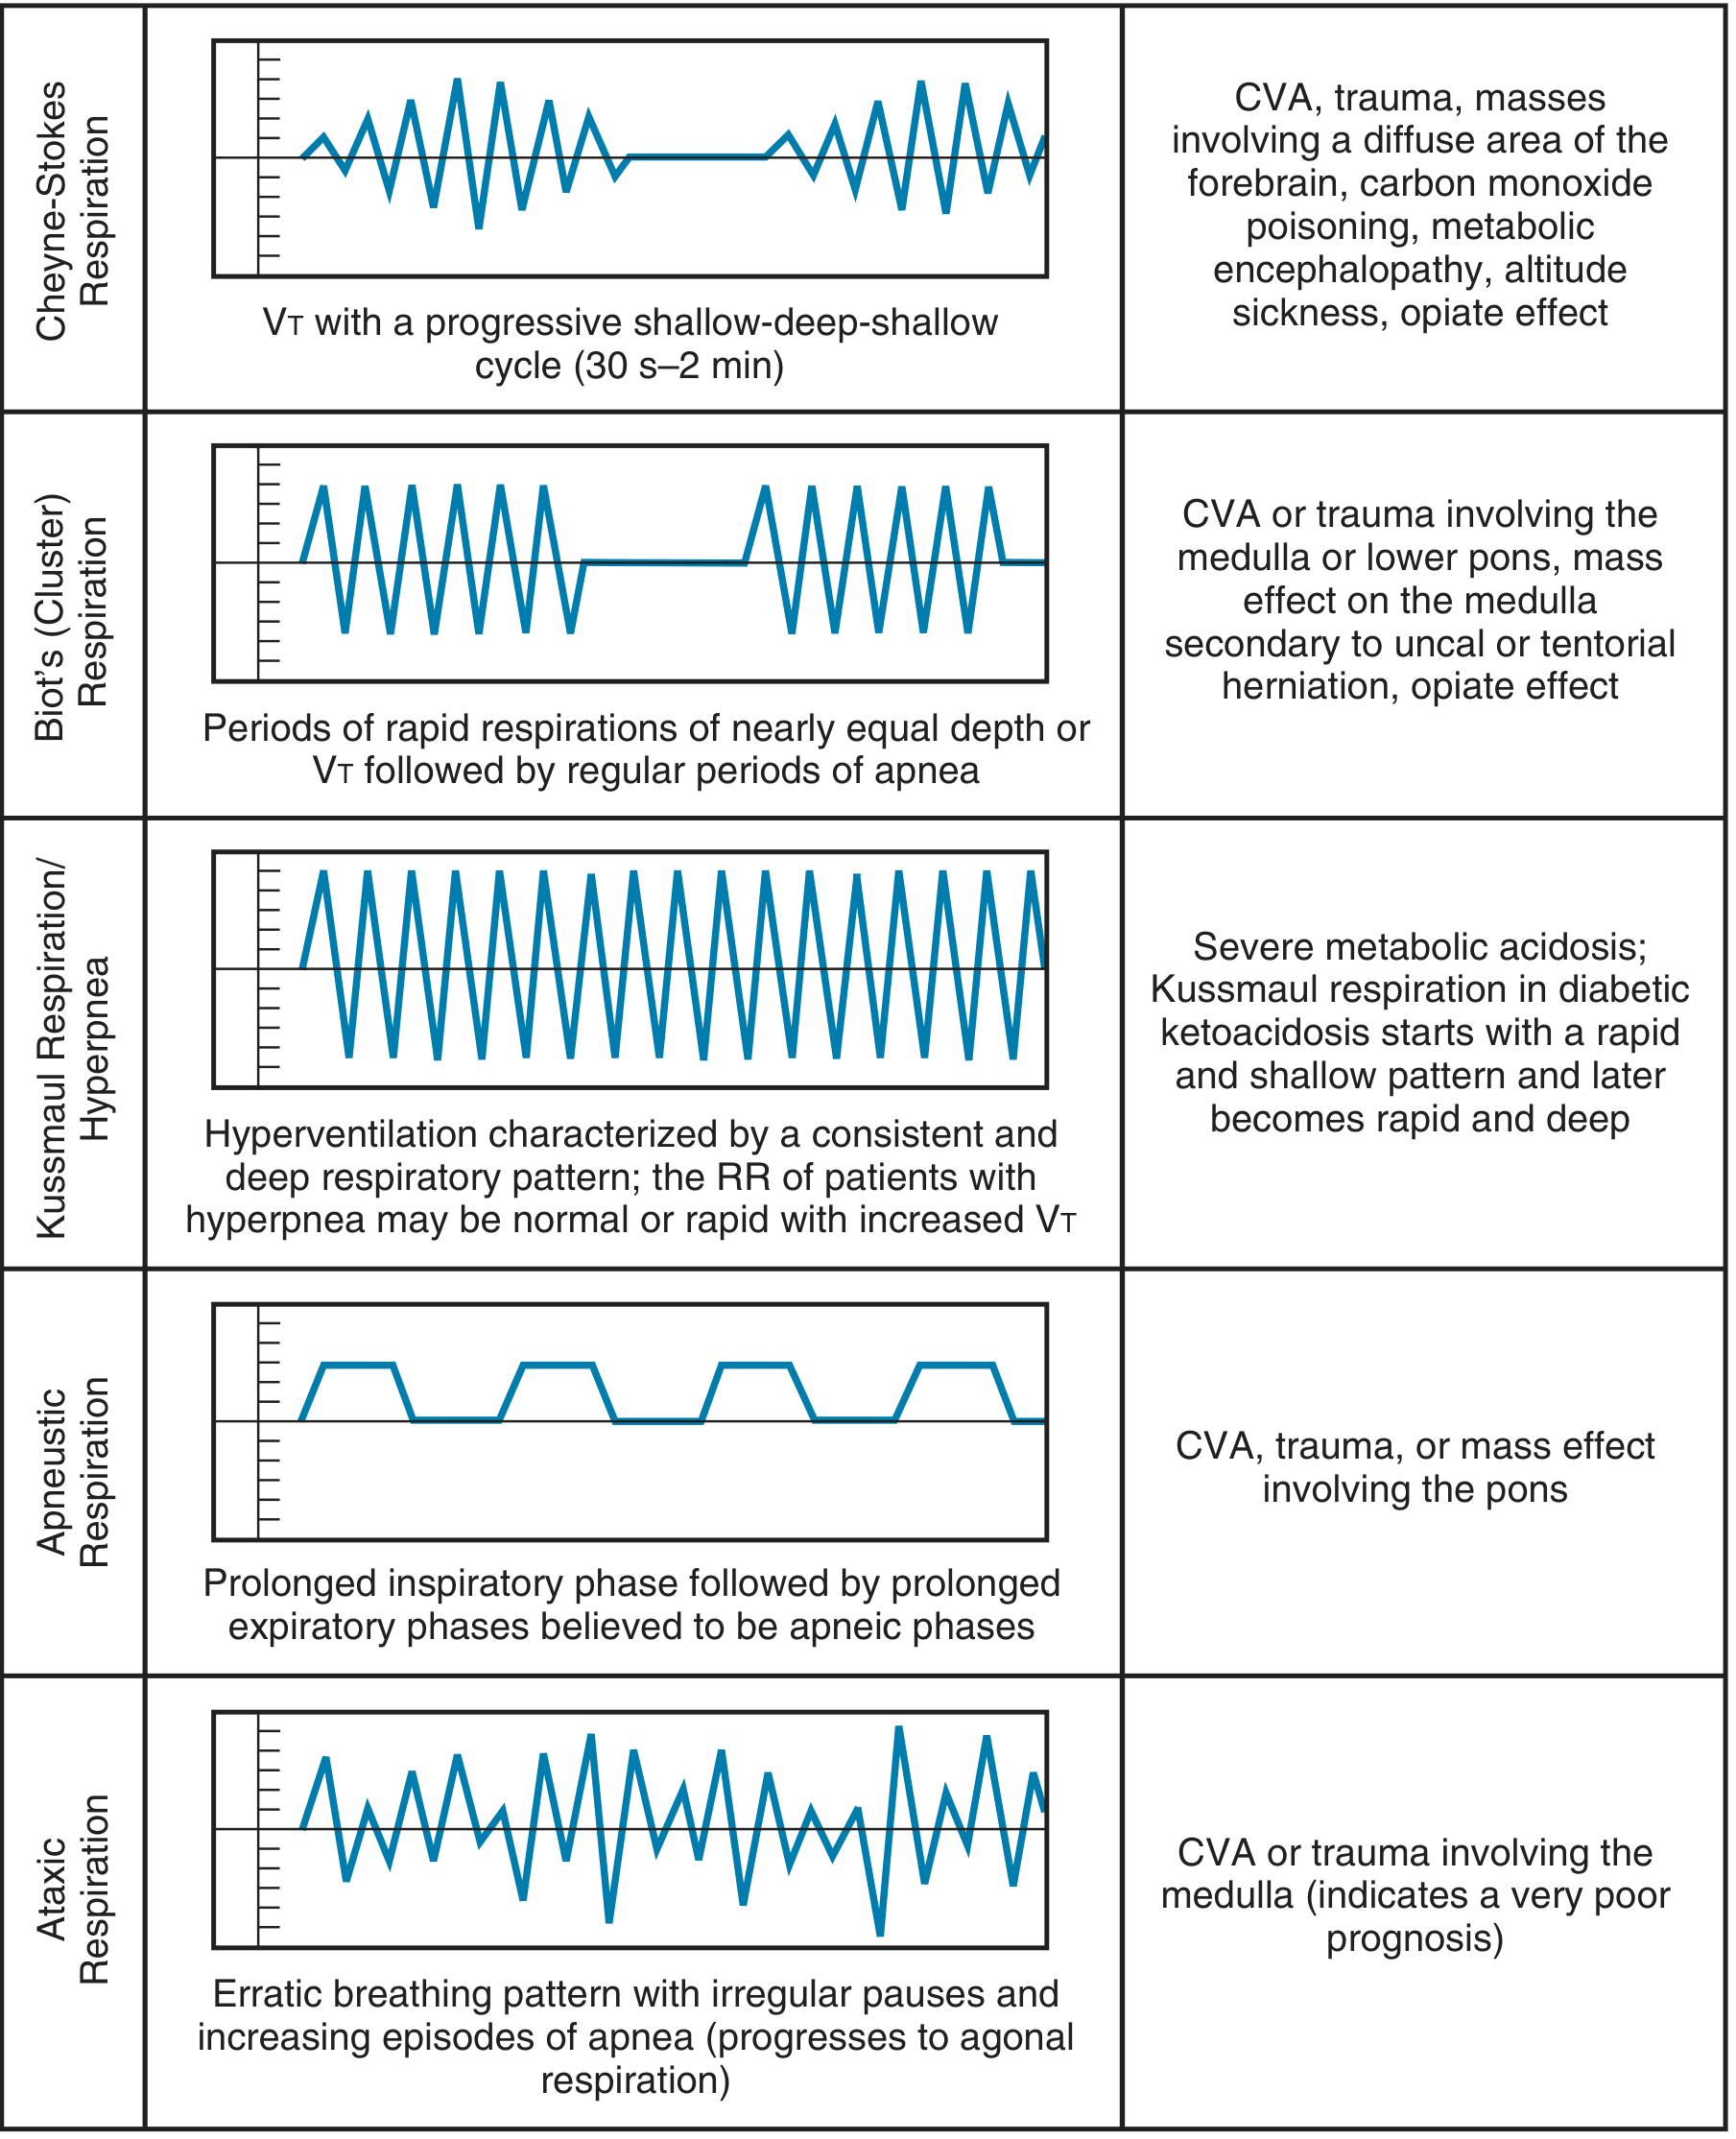
Abnormal Patterns (see figure below)
- Cheyne-Stokes - crescendo-decrescendo cycles with apnea; seen in cardiac failure, raised ICP
- Kussmaul - deep, regular hyperpnea; seen in diabetic ketoacidosis (metabolic acidosis)
- Biot's - irregular respirations with apneic episodes; seen in meningitis, brainstem lesions
- Apneustic - prolonged inspiratory pause; pontine lesions
- Ataxic - completely irregular; medullary dysfunction
- Bradypnea - decreased RR; commonly seen with opioid toxicity
- Roberts and Hedges' Clinical Procedures in Emergency Medicine
3. Evaluation of the Triceps Jerk
Neurological Basis
- Reflex arc: C6-C7 nerve roots (mainly C7)
- Effector: Triceps brachii muscle (elbow extension)
- Tendon struck: Triceps tendon, just above the olecranon
Technique
- Position the patient: Support the patient's arm with the elbow flexed at approximately 90°. This can be done with:
- The patient sitting: examiner supports the forearm
- The patient lying: arm draped across the chest
- Strike the triceps tendon directly with a tendon hammer, just proximal to the olecranon process.
- Observe for elbow extension (normal response).
Grading of Reflexes
| Grade | Interpretation |
|---|---|
| 0 | Absent |
| 1 | Reduced (hypoactive) |
| 2 | Normal |
| 3 | Increased (hyperactive) |
| 4 | Clonus |
Clinical Significance
| Finding | Cause |
|---|---|
| Absent/reduced (0-1) | C6-C7 nerve root lesion, peripheral neuropathy, lower motor neuron (LMN) lesion |
| Exaggerated (3-4) | Upper motor neuron (UMN) lesion (stroke, cord compression above C6) |
-
Biceps / Brachioradialis = C5-C6
-
Triceps = C6-C7
-
Knee jerk = L3-L4 (mainly L4)
-
Ankle jerk = S1
-
Sabiston Textbook of Surgery
4. Examination of the Vagus Nerve (CN X)
Functions Tested
| Function | Structure |
|---|---|
| Motor to soft palate | Palatoglossus, levator veli palatini |
| Motor to pharynx/larynx | Vocalization, swallowing |
| Motor to larynx (recurrent laryngeal nerve) | Vocal cord adduction |
Examination Steps
- Ask the patient to speak. Note:
- Hoarseness - recurrent laryngeal nerve palsy (unilateral)
- Nasal quality - palatal weakness (air escaping through nose)
- Ask the patient to cough.
- A bovine/weak cough suggests recurrent laryngeal nerve palsy (loss of vocal cord adduction).
- Ask the patient to open mouth and say "Aah."
- Normal: Soft palate elevates symmetrically, uvula remains midline.
- Unilateral vagal palsy: Palate pulled to the unaffected side; uvula deviates away from the affected side.
- Direct or indirect laryngoscopy confirms vocal cord mobility. Unilateral cord palsy presents as a fixed cord in the paramedian or cadaveric position.
- Ask the patient to swallow water - note choking or nasal regurgitation, which indicates palatal/pharyngeal involvement.
Summary of Vagal Lesion Signs
| Sign | Mechanism |
|---|---|
| Hoarse voice | Recurrent laryngeal nerve - vocal cord paralysis |
| Bovine cough | Inadequate glottic closure |
| Uvula deviation (away from lesion) | Unilateral palatal weakness |
| Dysphagia/choking on fluids | Pharyngeal muscle weakness |
| Nasal regurgitation | Soft palate incompetence |
- Scott-Brown's Otorhinolaryngology Head & Neck Surgery
Quick Reference - Nerve Roots & Key Findings:
- Apex beat: 5th ICS MCL; displaced = LV enlargement; sustained = pressure overload
- Respiratory rate: Normal adult 16-24/min; count over 60 seconds without alerting patient
- Triceps jerk: C6-C7; absent = LMN; exaggerated = UMN
- Vagus (CN X): Voice + cough + palate inspection + laryngoscopy