
Difference between reverse cutting and round body suture
- Round body (taper point): needle tapers to a sharp point, spreads tissue without cutting - used for soft/visceral tissue
- Reverse cutting: triangular cross-section with the cutting edge on the outer (convex) curve - stronger than conventional cutting, resists tissue pull-through - used for skin and tough tissues
- Key difference: round body preserves tissue integrity; reverse cutting cuts through tissue
reverse cutting needle vs round body taper point suture needle cross section diagram
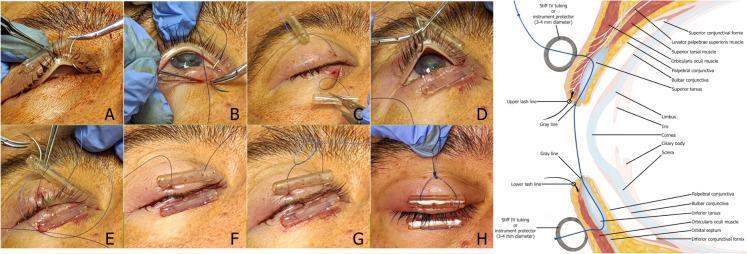
A multi-panel clinical photograph and anatomical diagram illustrating a reversible tarsorrhaphy surgical procedure. Panels A-H depict sequential intraoperative steps: a double-armed suture (4-0 Prolene) with a cutting needle is passed through soft IV tubing bolsters (used to prevent skin cheese-wiring) and the eyelid margins. The technique demonstrates the needle exiting the gray line of the upper eyelid and entering the corresponding gray line of the lower eyelid to ensure a partial-thickness bite through the tarsal plate. Panels C-F show the repetition of this path for both arms of the suture medially and laterally. Panels G-H show the placement of a sliding knot above the upper bolster, allowing for adjustable eyelid closure. An accompanying sagittal cross-section diagram labels the relevant anatomy, including the superior and inferior tarsus, orbicularis oculi muscle, gray line, and conjunctival fornices, showing the suture path through the bolsters and tarsus without penetrating the palpebral conjunctiva. This instructional material is intended for ophthalmology and oculoplastic surgery education.
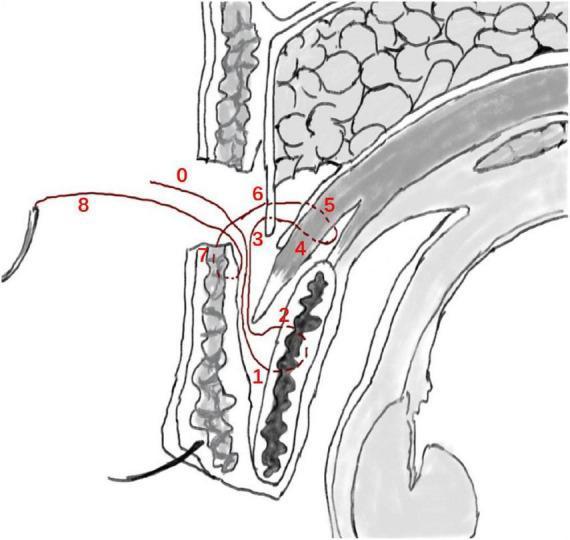
This medical anatomical diagram illustrates a sagittal cross-section of the upper eyelid, detailing the 'flexible-rigid fixation' technique used in small-incision blepharoplasty (double eyelid surgery). The illustration shows the surgical pathway of a mattress suture, color-coded in red and numbered 0 through 8 to indicate the sequence of needle passage. The suture begins at the incision site (0), engages the anterior tarsus fascia or tarsal plate (1-2), and then traverses superiorly through the levator aponeurosis and the retro-orbital septum complex (3-6). The needle is then reversed to anchor the suture to the lower lip of the orbicularis oculi muscle (7) before exiting (8). Key anatomical structures depicted include the skin, pretarsal and preseptal orbicularis oculi muscles, tarsal plate, levator aponeurosis, orbital septum, and preaponeurotic fat pads. This educational diagram demonstrates how the technique establishes an indirect link between the levator mechanism and the skin to create a natural-looking eyelid crease through both stable (rigid) and dynamic (flexible) tissue approximation.
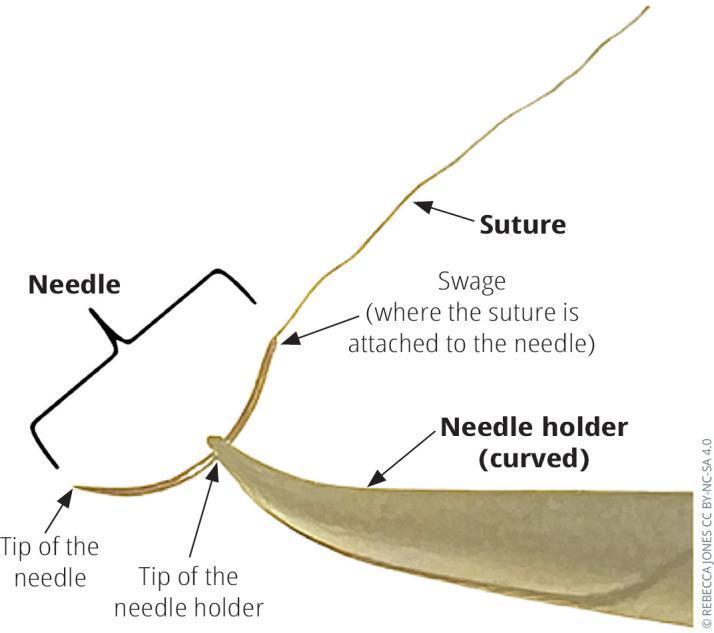
Educational clinical diagram illustrating the proper technique for loading a surgical needle for a right-handed surgeon. The image features a curved suture needle, a light-colored monofilament suture, and a curved needle holder. The needle holder's tip is shown gripping the body of the curved needle approximately one-half to two-thirds of the distance from the needle point, specifically positioned just behind the center and closer to the swage. The swage, identified as the attachment point where the suture connects to the needle, is clearly labeled. The curved tip of the needle holder is oriented towards the swage, a configuration designed to optimize manipulation and visibility during suturing. The sharp tip of the needle points to the left, indicating the setup for a standard forehand pass. This diagram serves as a basic instructional tool for surgical instrumentation, highlighting the ergonomic relationship between the needle and its driver for efficient wound closure.
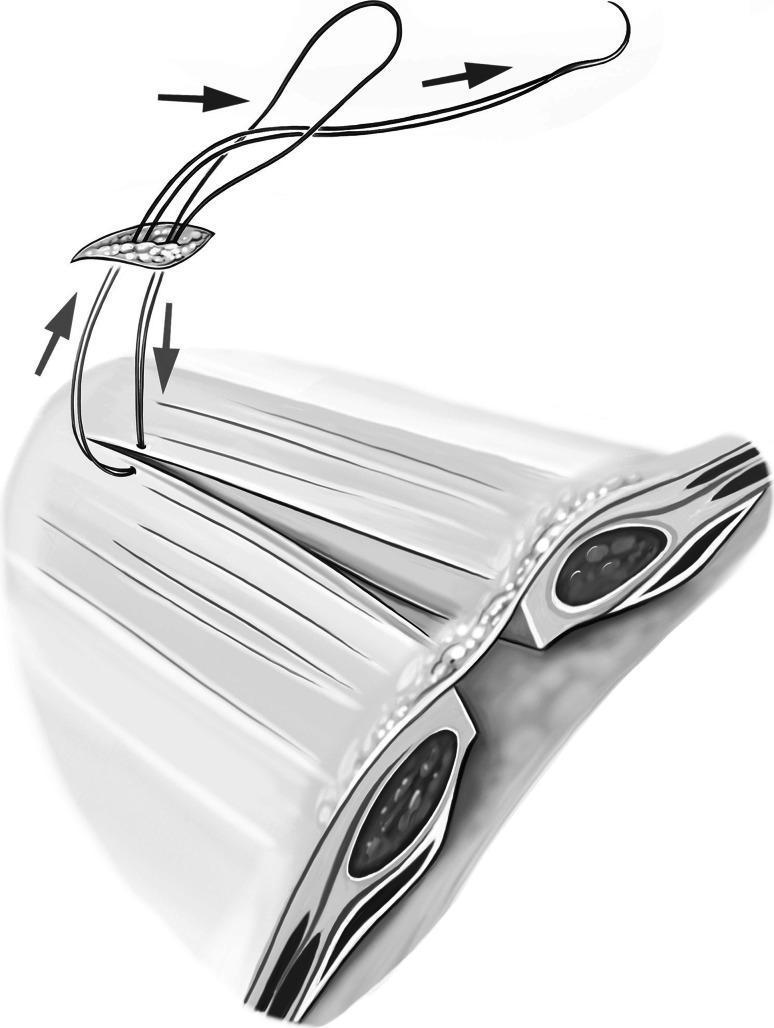
A surgical diagram illustrating the initial step of a trans-subcutaneous polydioxanone suture (PDS) sling placement for laparoscopic hernia repair. The illustration shows a cross-sectional view of the abdominal fascia with a visible midline gap. A suture needle is depicted entering the tissue cephalad to the fascial defect through a small 5-mm skin incision. Black directional arrows indicate the path of the suture as it is inserted into the preperitoneal space, reversed, and extracted back through the same incision point to form an external loop. This looping technique allows the majority of the suture length to remain external initially, facilitating better laparoscopic handling and tension control during the subsequent intra-abdominal suturing phase. The diagram highlights the relationship between the skin incision, the subcutaneous track, and the underlying fascial gap, emphasizing the method used to secure the cephalad anchor of the suture line.
Reverse Cutting vs. Round Body (Taper Point) Suture Needle
1. Round Body (Taper Point) Needle
| Feature | Detail |
|---|---|
| Cross-section | Round/oval body that smoothly tapers to a sharp point |
| Mechanism | Pushes and spreads tissue fibres apart without cutting them |
| Wound track | Small, round hole - tissue springs back around the suture |
| Tissue type | Soft, delicate, or easily torn tissues |
| Clinical uses | Bowel, peritoneum, fascia, muscle, blood vessels, nasal mucosa, deep dermal buried sutures |
| Trade names | Ethicon RB-1 (round body); Covidien CV-23 (taper point) |
2. Reverse Cutting Needle
| Feature | Detail |
|---|---|
| Cross-section | Triangular; cutting edge on the outer (convex) curvature |
| Mechanism | Cuts through tissue as it passes |
| Wound track | Triangular channel |
| Inner surface | Flat along the inner edge - suture lies away from the wound margin |
| Tissue type | Dense, tough tissue |
| Clinical uses | Skin closure, subcuticular sutures, fascia, oral mucosa, tendon sheath |
| Advantage over conventional cutting | The outer cutting edge means suture pull-through force is directed away from the wound edge, significantly reducing the risk of tearing |
The Key Difference: Conventional Cutting vs. Reverse Cutting
| Conventional Cutting | Reverse Cutting | Round Body (Taper) | |
|---|---|---|---|
| Cutting edge location | Inner (concave) curve | Outer (convex) curve | No cutting edge |
| Pull-through risk | HIGH - cuts toward wound edge | LOW - cuts away from wound edge | None (spreads tissue) |
| Tissue penetration | Good | Better | Poor in dense tissue |
| Tissue trauma | Moderate-high | Moderate | Minimal |
| Current preference | Rarely used | Standard for skin | Standard for viscera |
Clinical Summary
- Use reverse cutting for: skin, scalp, subcuticular closures, oral mucosa, tough fascia. It is the default "cutting needle" - "Unless specified otherwise, a 'cutting needle' now refers to a reverse cutting design." - Pfenninger & Fowler's 3e
- Use round body/taper for: bowel, stomach, peritoneum, blood vessels, muscle, nasal mucosa, buried deep dermal sutures in small defects (e.g., Ethicon RB-1 for back/scalp high-tension wounds)
Needle Nomenclature Chart (from Dermatology 2-Volume Set 5e)
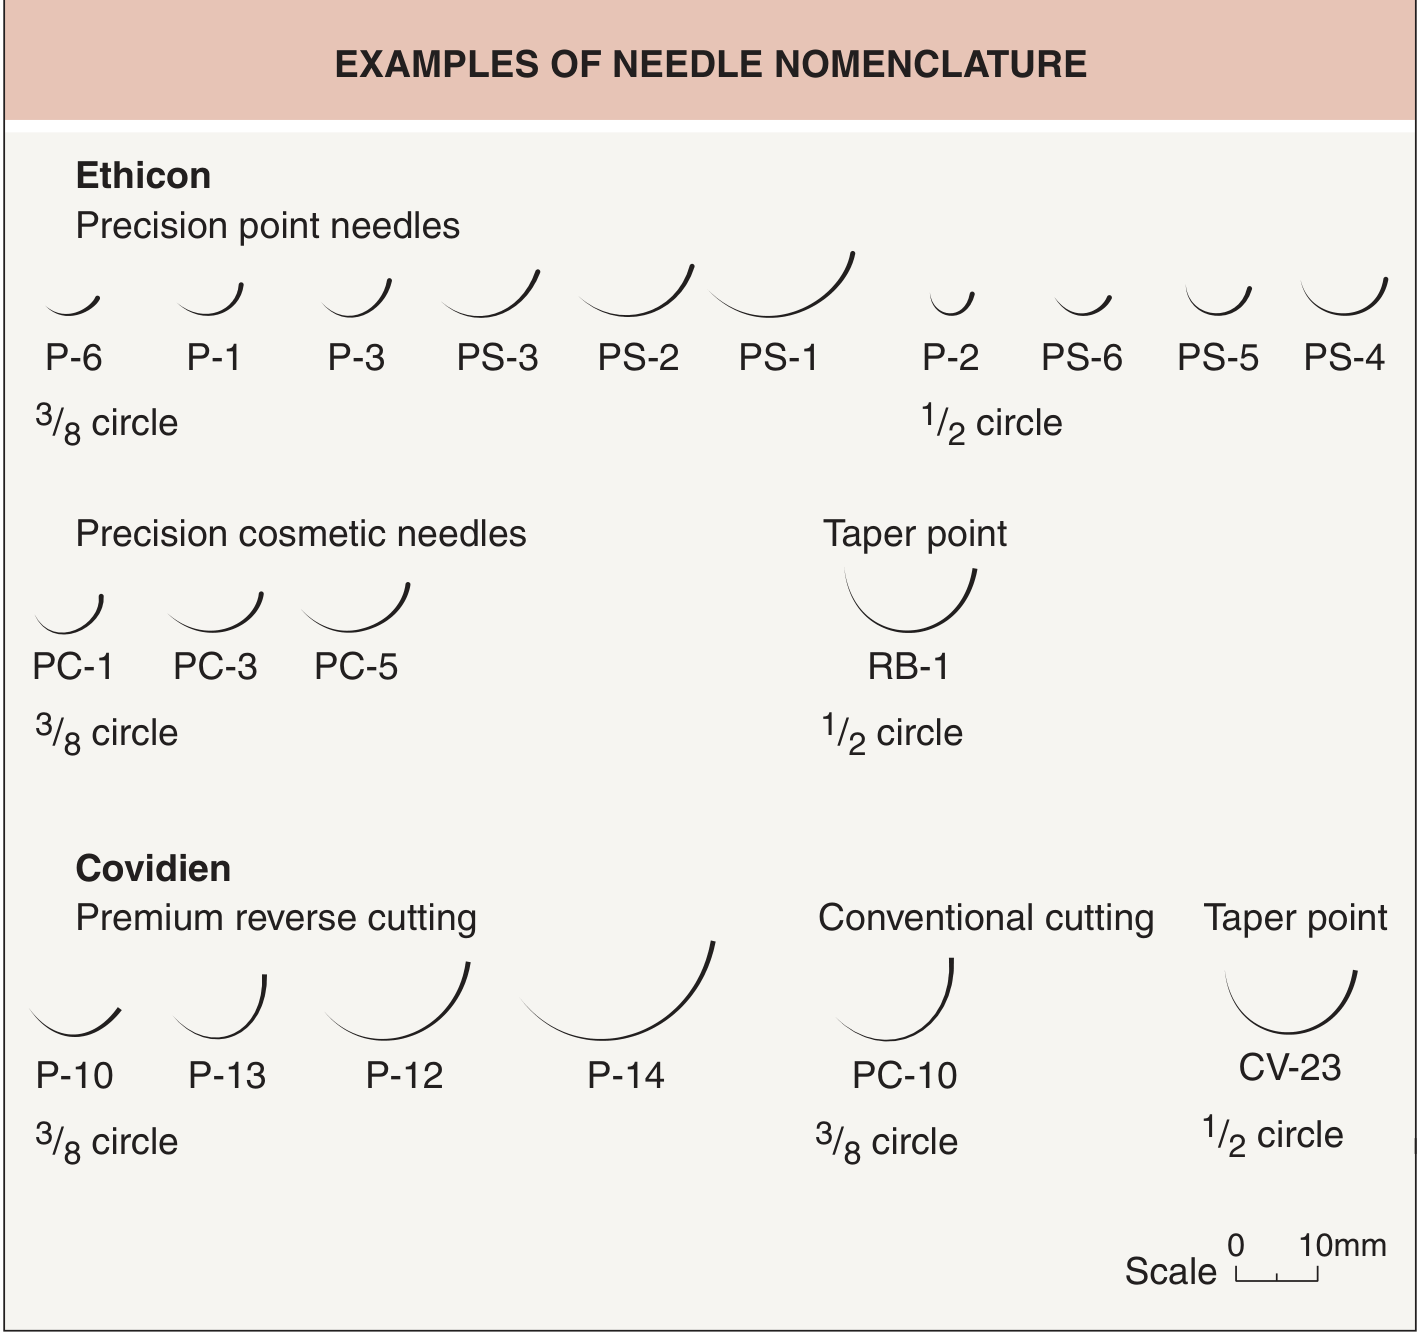
- Dermatology 2-Volume Set 5e, Section: Needles (p. 2950)
- Pfenninger & Fowler's Procedures for Primary Care, 3e, p. 200-201
- Roberts & Hedges' Clinical Procedures in Emergency Medicine, Closure Principles (Fig. 35.16)
- Textbook of Family Medicine 9e, Needles section