
Posterior spinal decompression steps
Reading File
Posterior spinal decompression involves a series of steps to expose and decompress the spinal canal and neural elements from behind. The main procedure is a laminectomy (with or without foraminotomy/discectomy). Here's a quick overview while I search the textbooks:
Searching sources...
Finding Sources
Finding Sources
Finding Sources
Reading File
Reading File
Finding Sources
Finding Sources
Finding Sources
Reading File
Reading File
Reading File
Now I have excellent detail from Campbell's Operative Orthopaedics and Rockwood & Green's. Let me compile the full answer.
Loading Image
Loading Image
Here is a complete, step-by-step account of posterior spinal decompression, drawn from Campbell's Operative Orthopaedics 15th Ed 2026 and Rockwood and Green's Fractures in Adults 10th Ed 2025.
Posterior Spinal Decompression - Surgical Steps
The procedure is organized into five phases: patient setup, surgical approach/exposure, bony decompression (laminectomy), neural decompression, and closure. Steps vary slightly by spinal level; region-specific notes are included below.
Phase 1: Patient Positioning
- Place the patient prone on a padded spinal operating frame (e.g., Wilson frame, Jackson table, or Andrews frame).
- The abdomen must hang free - this reduces intra-abdominal pressure, collapses the epidural venous plexus, and significantly decreases intraoperative blood loss.
- For the cervical spine: prone positioning is on a turning frame with skeletal traction through tongs, or a three-point head rest (e.g., Mayfield clamp) for rigid immobilization.
- Avoid any pressure on the eyes.
- Confirm all bony prominences are padded. Confirm neuromonitoring (SSEP/MEP) baselines if used.
Phase 2: Skin Incision
- Infiltrate skin and subcutaneous tissue (and erector spinae for thoracic/lumbar) with 1:500,000 epinephrine solution to aid hemostasis.
- Make a midline longitudinal skin incision centered over the involved segment(s).
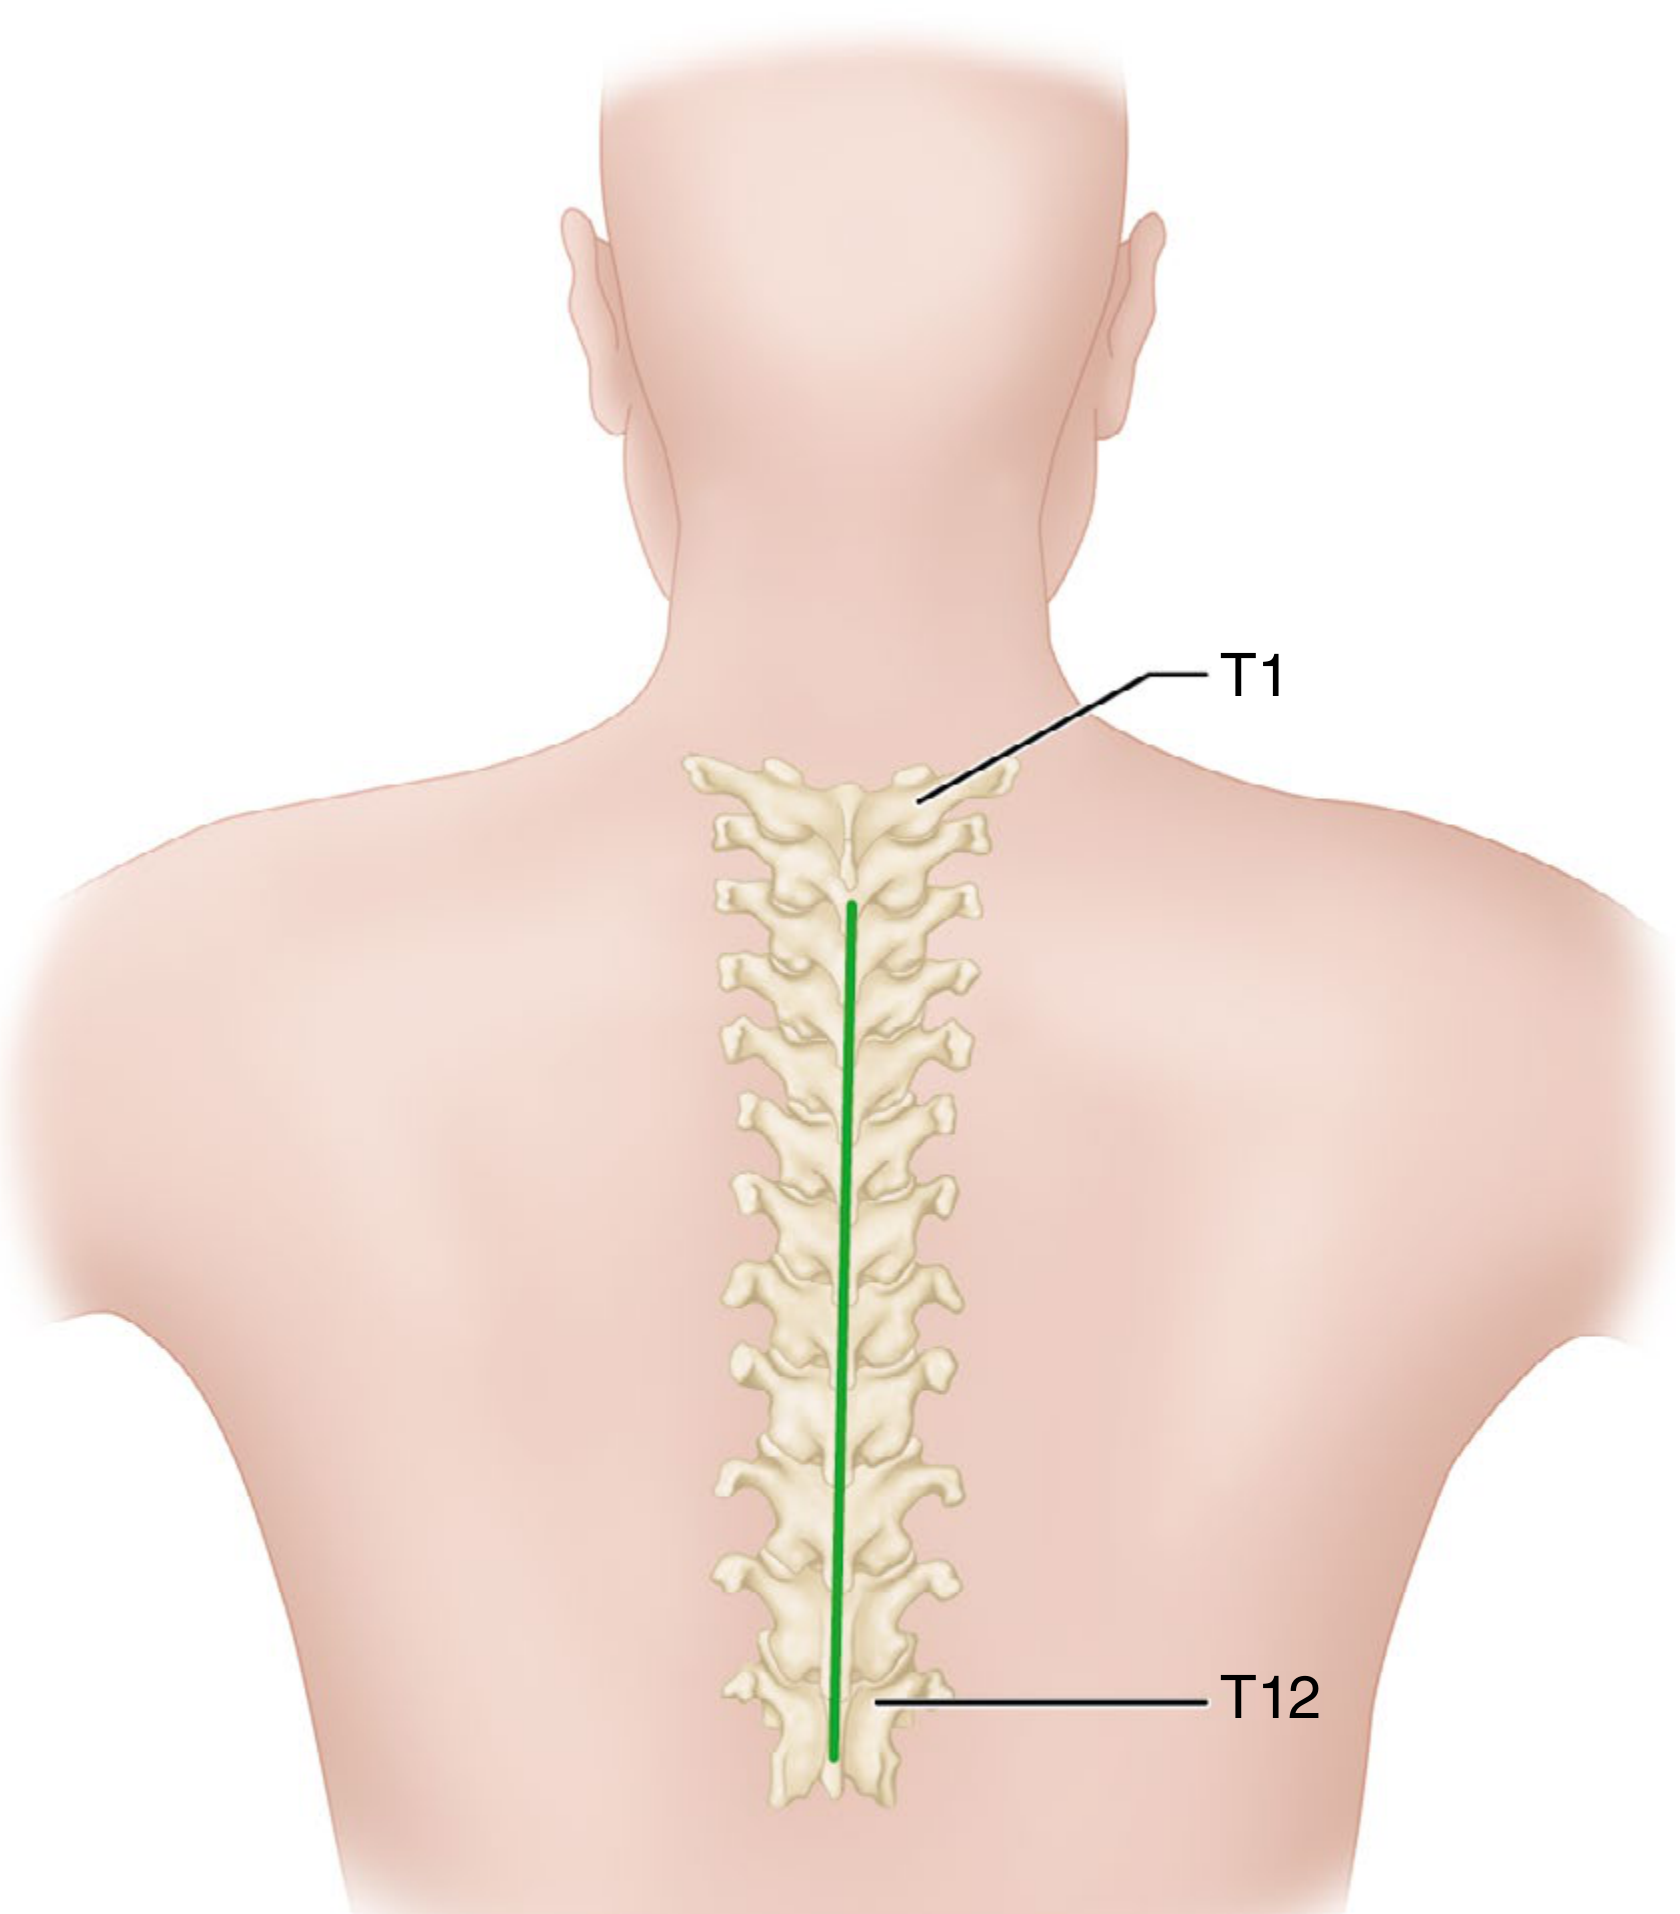
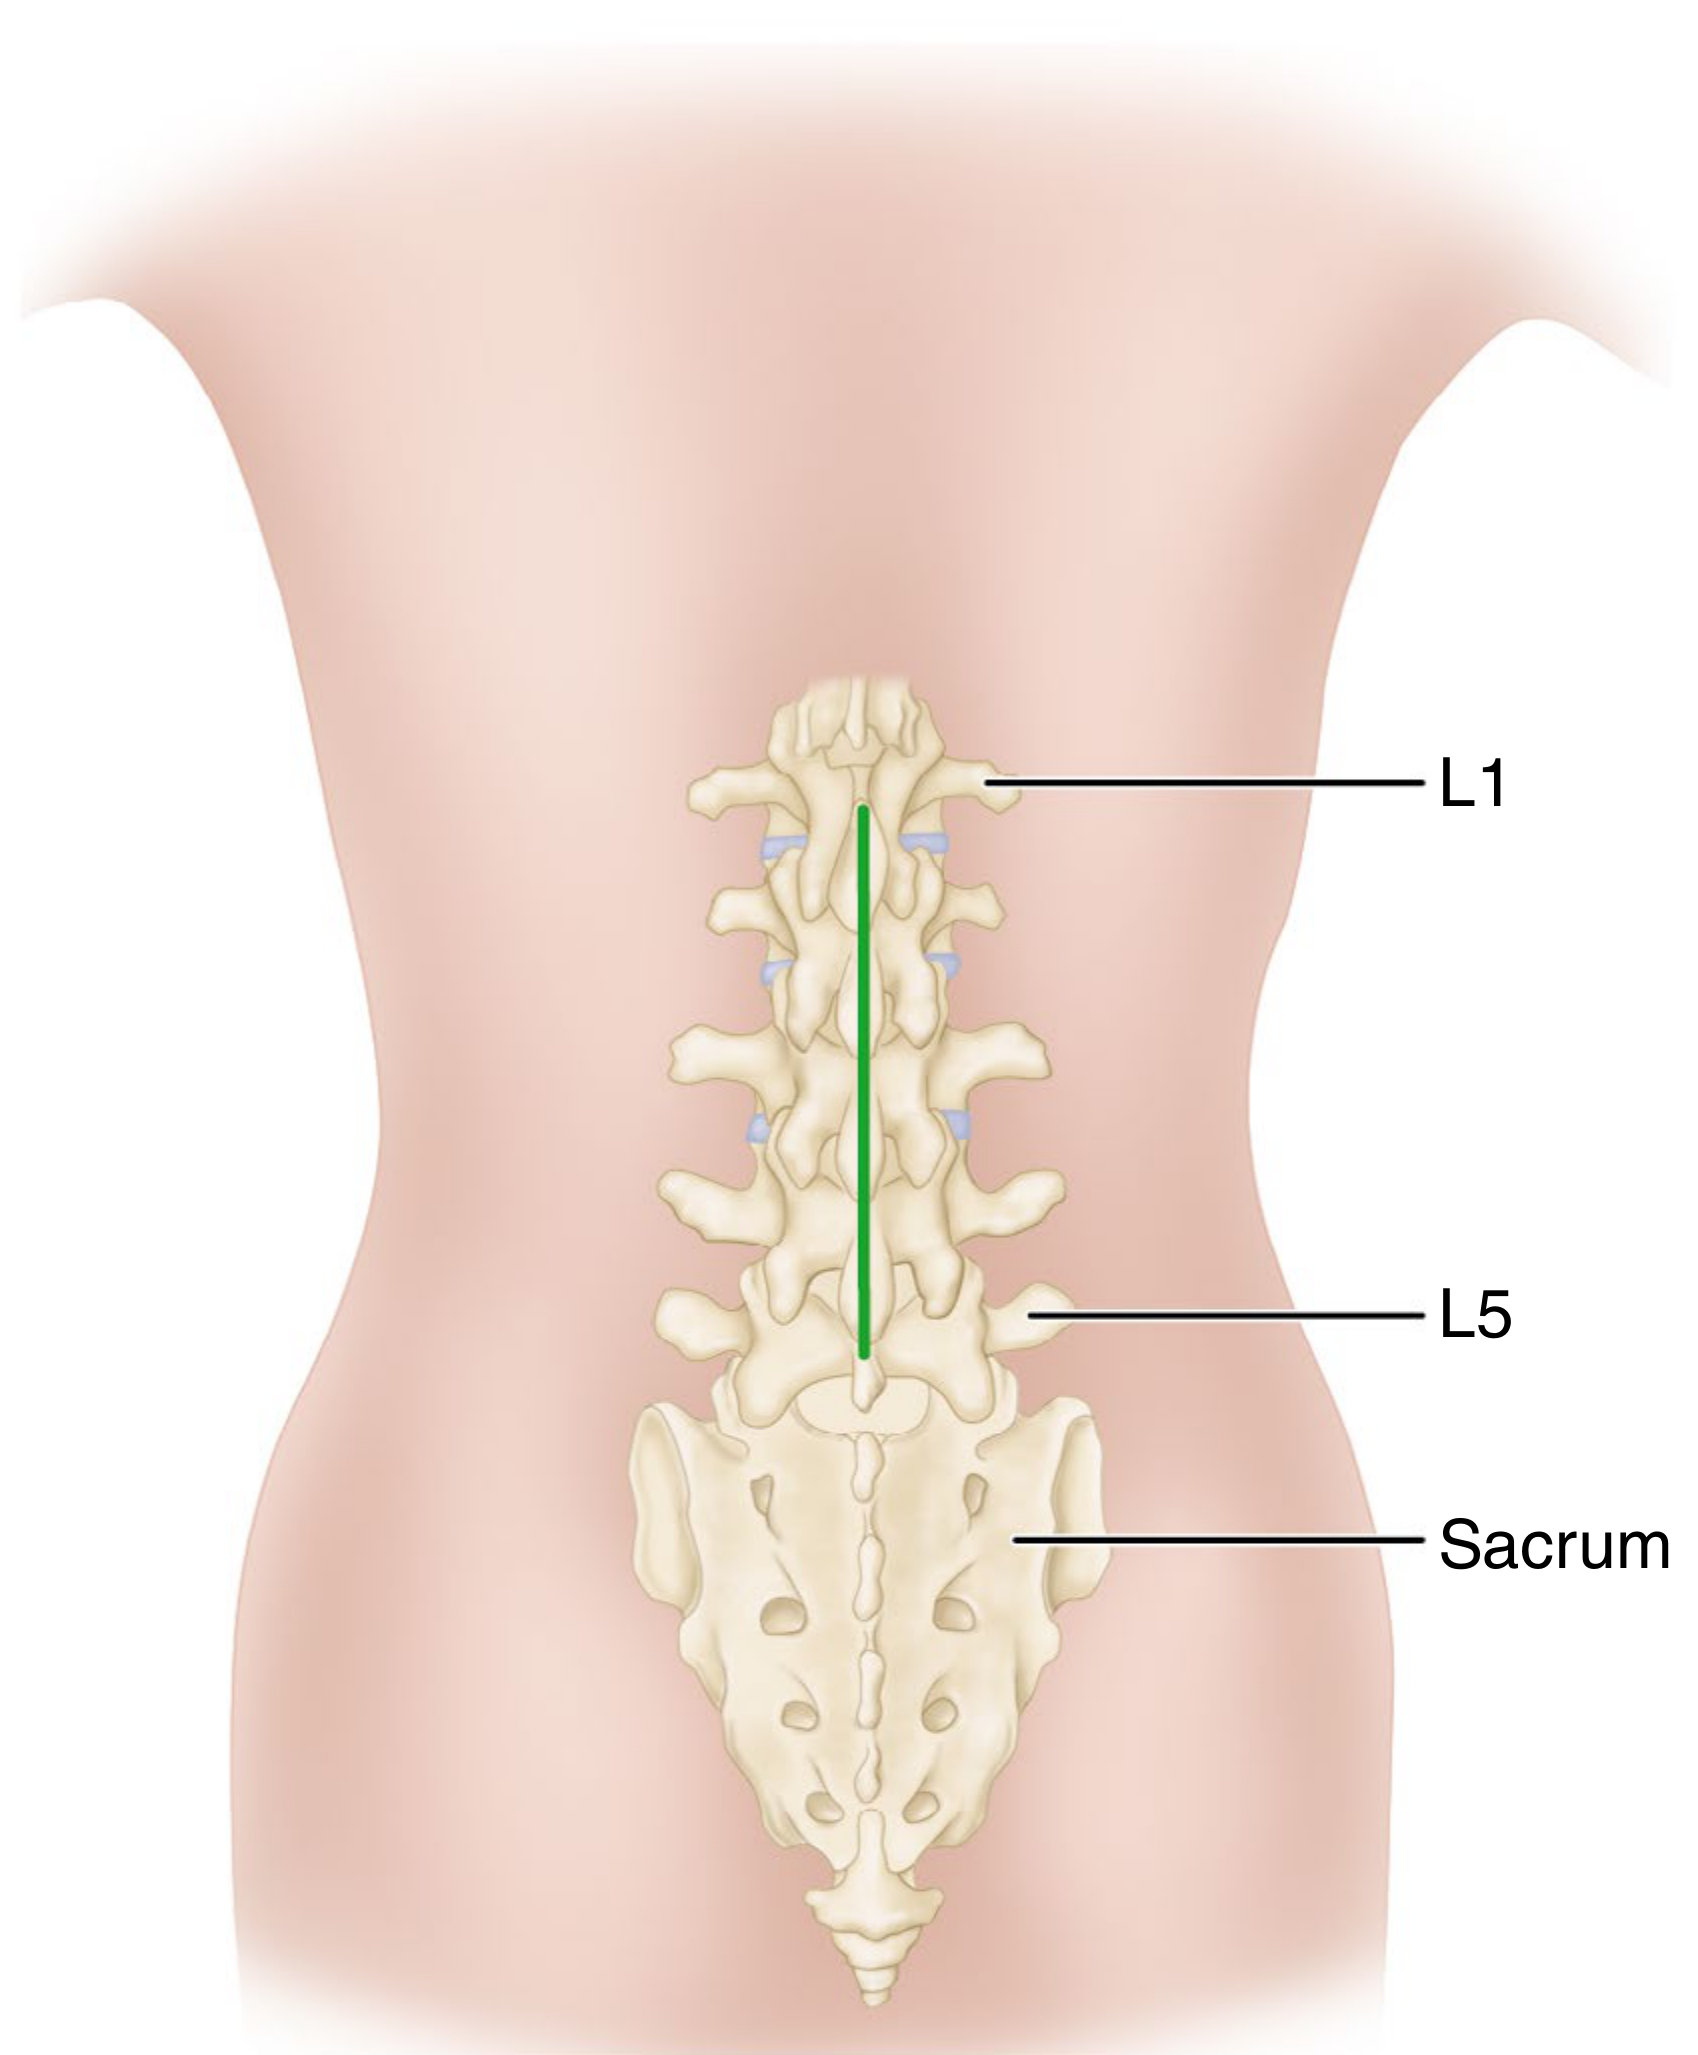
Phase 3: Deep Dissection and Exposure
- Incise the fascia - Deepen the dissection in the midline using a scalpel or electrocautery through the superficial fascia and thoracolumbar (lumbodorsal) fascia down to the tips of the spinous processes.
- In the cervical spine, the thin white median raphe (an avascular avascular ligament) is the key midline guide. It does not follow a perfectly straight path. Dissect through this raphe, not through muscle, to minimize bleeding.
- Subperiosteal muscle reflection - Using periosteal elevators and electrocautery, strip the erector spinae (paraspinal) muscles from the posterior elements subperiosteally in a distal-to-proximal direction. Reflect them laterally to the tips of the transverse processes.
- Insert self-retaining retractors to maintain soft-tissue tension during exposure.
- Hemostasis at each level - Pack each exposed segment with a taped sponge immediately after exposure to minimize bleeding.
- Confirm level with intraoperative radiograph (plain film or fluoroscopy) before proceeding with bony work. This is a mandatory safety step.
Cervical caution: Do not carry the dissection farther than 1.5 cm laterally on either side to avoid the vertebral arteries. On C1, the second cervical ganglion lies approximately 1.5 cm laterally and marks the groove for the vertebral artery - do not dissect beyond it.
Phase 4: Bony Decompression (Laminectomy)
This is the core decompressive step. From [Rockwood and Green's Key Surgical Steps]:
- Identify the pars interarticularis at the laminectomy level(s) - this is the critical anatomical landmark that defines the lateral extent of the laminectomy.
- Create bilateral longitudinal troughs using a high-speed burr along the length of the lamina, several millimeters medial to the pars interarticularis and along the medial aspect of the facet joint bilaterally.
- En bloc removal - The spinous process, bilateral laminae, and medial aspect of the bilateral facet joints are removed as a single unit. A Kerrison rongeur, Leksell rongeur, or osteotome may be used to complete the cut and lift the laminar arch free.
- Extent of decompression - A hemilaminectomy or full laminectomy is performed as required. For adequate posterior decompression, the resection should extend from the pedicle above to the pedicle below the target vertebra.
- Ligamentum flavum - Once the laminar bone is removed, the ligamentum flavum is resected with Kerrison rongeurs to fully expose the underlying dura and epidural space.
- Foraminotomy (if needed) - The medial wall of the pedicle and the lateral recess can be undercut with angled Kerrison rongeurs to decompress the exiting nerve root in its foramen, extending from the pedicle above to the pedicle below.
Phase 5: Neural Element Decompression
After the bony arch is removed:
- Carefully inspect and palpate the dural sac and nerve roots for residual compression.
- Remove any retropulsed bone fragments by gently teasing them ventrally (anteriorly) away from the dura - never lever them against the cord.
- Perform discectomy if a herniated disc is contributing to compression: incise the posterior annulus sharply, then use pituitary rongeurs and curettes to remove disc material.
- Achieve meticulous epidural hemostasis with bipolar cautery and hemostatic agents (Gelfoam, thrombin, etc.) - epidural bleeding around the dura is the most common source of postoperative hematoma.
- Confirm adequate decompression by visualizing free pulsation of the dura and ensuring no residual thecal sac or root compression.
Phase 6: Wound Closure
- Thoroughly irrigate the wound with antibiotic-containing saline.
- Place a suction drain (e.g., Jackson-Pratt) in the epidural/subfascial space.
- Close in anatomical layers:
- Thoracolumbar fascia - interrupted absorbable sutures
- Subcutaneous tissue - absorbable sutures
- Skin - subcuticular suture or staples
- Apply sterile dressing.
Minimally Invasive Variant (MIS)
All posterior approaches can be adapted to a minimally invasive technique when only limited decompression within the lateral recess, canal, or foramen is needed:
- A series of dilators are introduced through the posterior fascia and musculature.
- A tubular retractor (typically 16-22 mm diameter) is docked on the spine and fixed to a table-mounted arm.
- The same bony steps are performed under a microscope or endoscope through this working portal.
- Incision placement must be precise - a 2 cm error with a 20 mm retractor represents a 100% placement error.
Summary Table
| Phase | Key Action | Instrument |
|---|---|---|
| Positioning | Prone, abdomen hanging free | Spinal frame |
| Incision | Midline longitudinal skin cut | Scalpel |
| Fascia | Through lumbodorsal fascia to spinous processes | Electrocautery |
| Muscle | Subperiosteal stripping distal-to-proximal | Periosteal elevator |
| Level check | Intraoperative radiograph | Fluoroscopy/C-arm |
| Laminectomy | Burr troughs medial to pars, en bloc removal | High-speed burr, Kerrison rongeur |
| Flavum | Resect ligamentum flavum | Kerrison rongeur |
| Foraminotomy | Undercut medial pedicle wall | Angled Kerrison |
| Fragment removal | Tease retropulsed bone anteriorly | Curette, dissector |
| Hemostasis | Bipolar + hemostatic agents | Bipolar, Gelfoam |
| Closure | Layered with drain | Absorbable sutures |
Sources: Campbell's Operative Orthopaedics 15th Ed 2026, Techniques 44.23, 44.25, 44.27; Rockwood and Green's Fractures in Adults 10th Ed 2025, Laminectomy Key Surgical Steps (p. 2281)
This is a shared conversation. Sign in to Orris to start your own chat.