
At the time of landing, why do ear pains?
ear pain airplane landing barotrauma Eustachian tube mechanism
Eustachian tube ear pressure equalization diagram airplane barotrauma
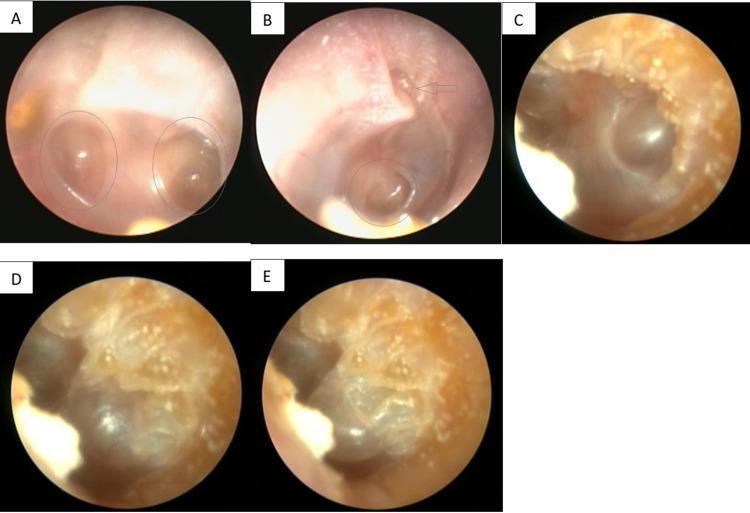
This set of clinical endoscopic images captures the tympanic membrane (TM) and middle ear pathology in a patient with eustachian tube dysfunction. Panel A (Left ear) displays two distinct, concave retraction pockets (circled), indicating prolonged negative middle ear pressure. Panel B (Right ear) shows a dull, opaque TM with a single retraction pocket and a visible pressure equalization tube (PET) insertion site indicated by an arrow. Panels C, D, and E (Left ear) demonstrate clinical progression following weight loss, showing the successful inflation of the retraction pocket during a Valsalva maneuver—a dynamic change that was previously unachievable. This visual sequence illustrates the relationship between anatomical changes, middle ear ventilation, and the management of chronic TM retraction. The images serve as an educational resource for identifying retraction pocket morphology, the positioning of PETs, and evaluating the patency of the eustachian tube via pneumatic or physiological maneuvers.
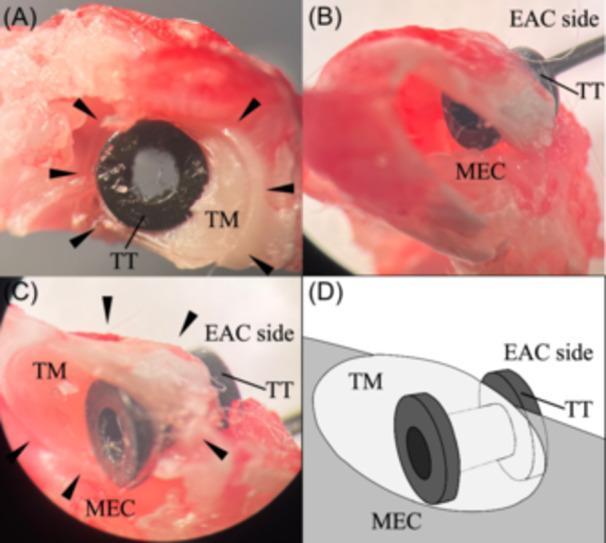
This composite educational resource consists of microscopic images and an anatomical diagram demonstrating the surgical placement of a tympanostomy tube (TT). Figure (A) displays a lateral view of a temporal bone specimen from the external auditory canal (EAC) perspective, showing the black, circular flange of the TT seated flush against the translucent tympanic membrane (TM). Figures (B) and (C) provide cross-sectional and medial views following the opening of the middle ear cavity (MEC), revealing the dual-flange 'spool' design of the tube. The images clearly show the central shaft of the TT penetrating the TM, with one flange anchored in the EAC and the inner flange secured within the MEC to maintain patency. Figure (D) is a schematic illustration summarizing this trans-tympanic placement. This visual is designed for otolaryngology training to illustrate the management of chronic otitis media or Eustachian tube dysfunction through pressure equalization tube insertion, highlighting the anatomical relationship between the external canal, the membrane, and the middle ear space.
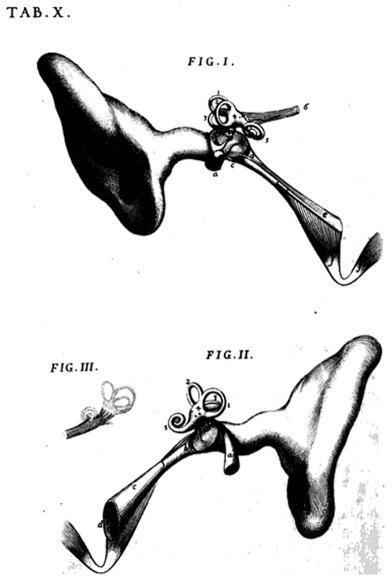
This historical anatomical illustration, titled 'Tab. X', features three figures (Fig. I, II, and III) originally drawn by Antonio Maria Valsalva in 1717, detailing the anatomy of the human ear and Eustachian tube. Fig. I and Fig. II provide lateral orientations of the middle ear and inner ear structures connected to the pharyngeal orifice. The drawings clearly depict the tympanic cavity, the ossicular chain (malleus, incus, and stapes), and the labyrinth system including the semicircular canals and cochlea. A prominent feature is the Eustachian tube (auditory tube), shown as a narrow duct extending from the middle ear toward a wider, flared opening representing its nasopharyngeal termination. Fig. II presents a similar view to Fig. I but is inverted, likely to demonstrate the anatomical relationship from an alternative perspective. Fig. III provides a detailed, isolated view of the inner ear structures, specifically focusing on the semicircular canals and the vestibulocochlear nerve connection. This plate serves as a primary source of 18th-century otolaryngology, illustrating the essential connection between the nasopharynx and the middle ear for pressure equalization.
Why Ears Hurt During Landing: Airplane Ear (Barotrauma)
The Core Mechanism
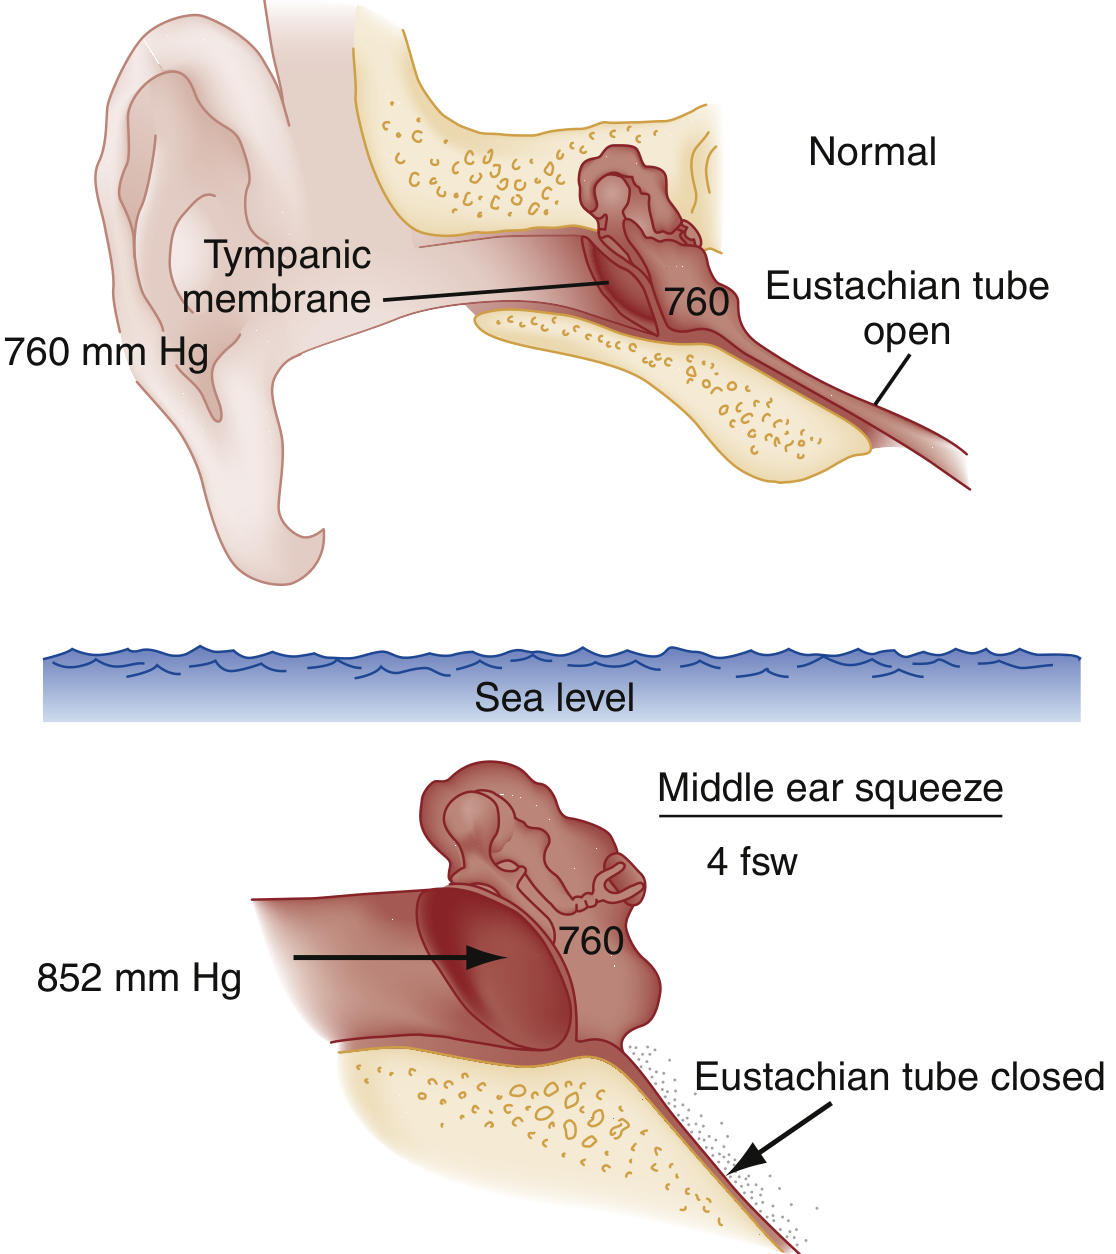
What Happens During Descent/Landing
- The Eustachian tube is normally closed at rest and only opens briefly during swallowing, yawning, or chewing.
- When the pressure difference becomes large, the tube can be held shut by the pressure differential itself, plus any swelling or mucus (especially common with a cold or allergy).
- With the tube locked closed, outside pressure keeps rising while middle ear pressure stays low.
- The eardrum gets stretched and pushed inward, which activates pain-sensitive nerve endings and produces the characteristic pain, fullness, and muffled hearing.
Why Landing Is Worse Than Takeoff
- On takeoff, pressure outside drops, so air naturally flows out of the middle ear - the Eustachian tube opens more easily for outflow.
- On landing, pressure outside rises, requiring air to flow in - which requires active opening of the tube. This is harder, especially if there is any inflammation or congestion.
Who Is Most at Risk
- People with a cold, sinusitis, or allergic rhinitis - swelling narrows or blocks the tube
- Children (smaller, more horizontal Eustachian tubes)
- People with a history of Eustachian tube dysfunction
Grading of Severity
| Grade | Finding |
|---|---|
| 1 | Tympanic membrane redness only |
| 2 | Redness + retraction of eardrum |
| 3 | Fluid or blood behind eardrum |
| 4 | Eardrum perforation |
How to Relieve It (Equalization Maneuvers)
- Swallowing or yawning - opens the Eustachian tube passively
- Valsalva maneuver - pinch your nose, close your mouth, and gently blow; this pushes air up the tube into the middle ear
- Toynbee maneuver - pinch your nose and swallow
- Chewing gum - promotes frequent swallowing
- Nasal decongestant spray (e.g., oxymetazoline) before descent - shrinks mucosal swelling and helps the tube open