
Steps of peural tap
Reading File
A pleural tap (thoracentesis) involves inserting a needle into the pleural space to drain fluid or air. Key steps: position the patient sitting upright leaning forward, identify the site (one or two intercostal spaces below the upper level of effusion, usually 7th-9th intercostal space, posterior to mid-axillary line), insert the needle over the upper border of the lower rib to avoid the neurovascular bundle, and drain fluid.
Searching sources...
Finding Sources
Searching Images
pleural tap thoracentesis procedure technique
Finding Sources
Finding Sources
Good - I found relevant sections in Pye's Surgical Handicraft and Roberts & Hedges. Let me read the detailed technique sections.
Reading File
Reading File
Excellent - I have detailed content from both sources. Let me also read the Pye's section just before what I got (for patient positioning and site selection), and get the Harrison's section too.
Reading File
Reading File
Reading File
I now have sufficient detail for a comprehensive answer. Let me also fetch the patient positioning image from Pye's.
Loading Image
I now have everything needed. Here is the complete, structured answer:
Pleural Tap (Thoracentesis) - Steps
Indications
- Diagnostic: 50 mL of fluid obtained for lab studies (protein, LDH, cytology, culture, glucose)
- Therapeutic: Relief of dyspnea from large effusion - typically up to 1-1.5 L removed
Contraindications
- No absolute contraindications
- Relative: overlying cutaneous infection/herpes zoster, coagulopathy (INR >1.6, platelets <50,000/mm³) - risk virtually eliminated with ultrasound guidance
- Loculated effusions and mechanically ventilated patients require ultrasound guidance
Equipment
- Sterile gloves, drapes, antiseptic solution (0.5% chlorhexidine in spirit)
- 1% or 2% lignocaine (15-20 mL), 25-gauge needle for skin wheal, larger needle for deep infiltration
- For diagnostic: 22-gauge 2-inch needle (or spinal needle for larger patients), syringe
- For therapeutic: Over-the-needle catheter (e.g. 8-Fr catheter over 18-gauge needle) with three-way tap, 60 mL syringe, sterile collection container
- Pulse oximeter; atropine at bedside (for vasovagal reaction)
- Ultrasound strongly recommended
Step-by-Step Technique
Step 1 - Consent and Pre-procedure Preparation
- Obtain informed consent
- Send peripheral blood for serum protein and LDH (if diagnostic)
- Monitor SpO2; administer supplemental O2 as needed
- Keep atropine at bedside
Step 2 - Patient Positioning
Position the patient sitting upright on the edge of the bed, leaning forward slightly with arms resting on a bedside table or Mayo stand, head turned away from the operator.
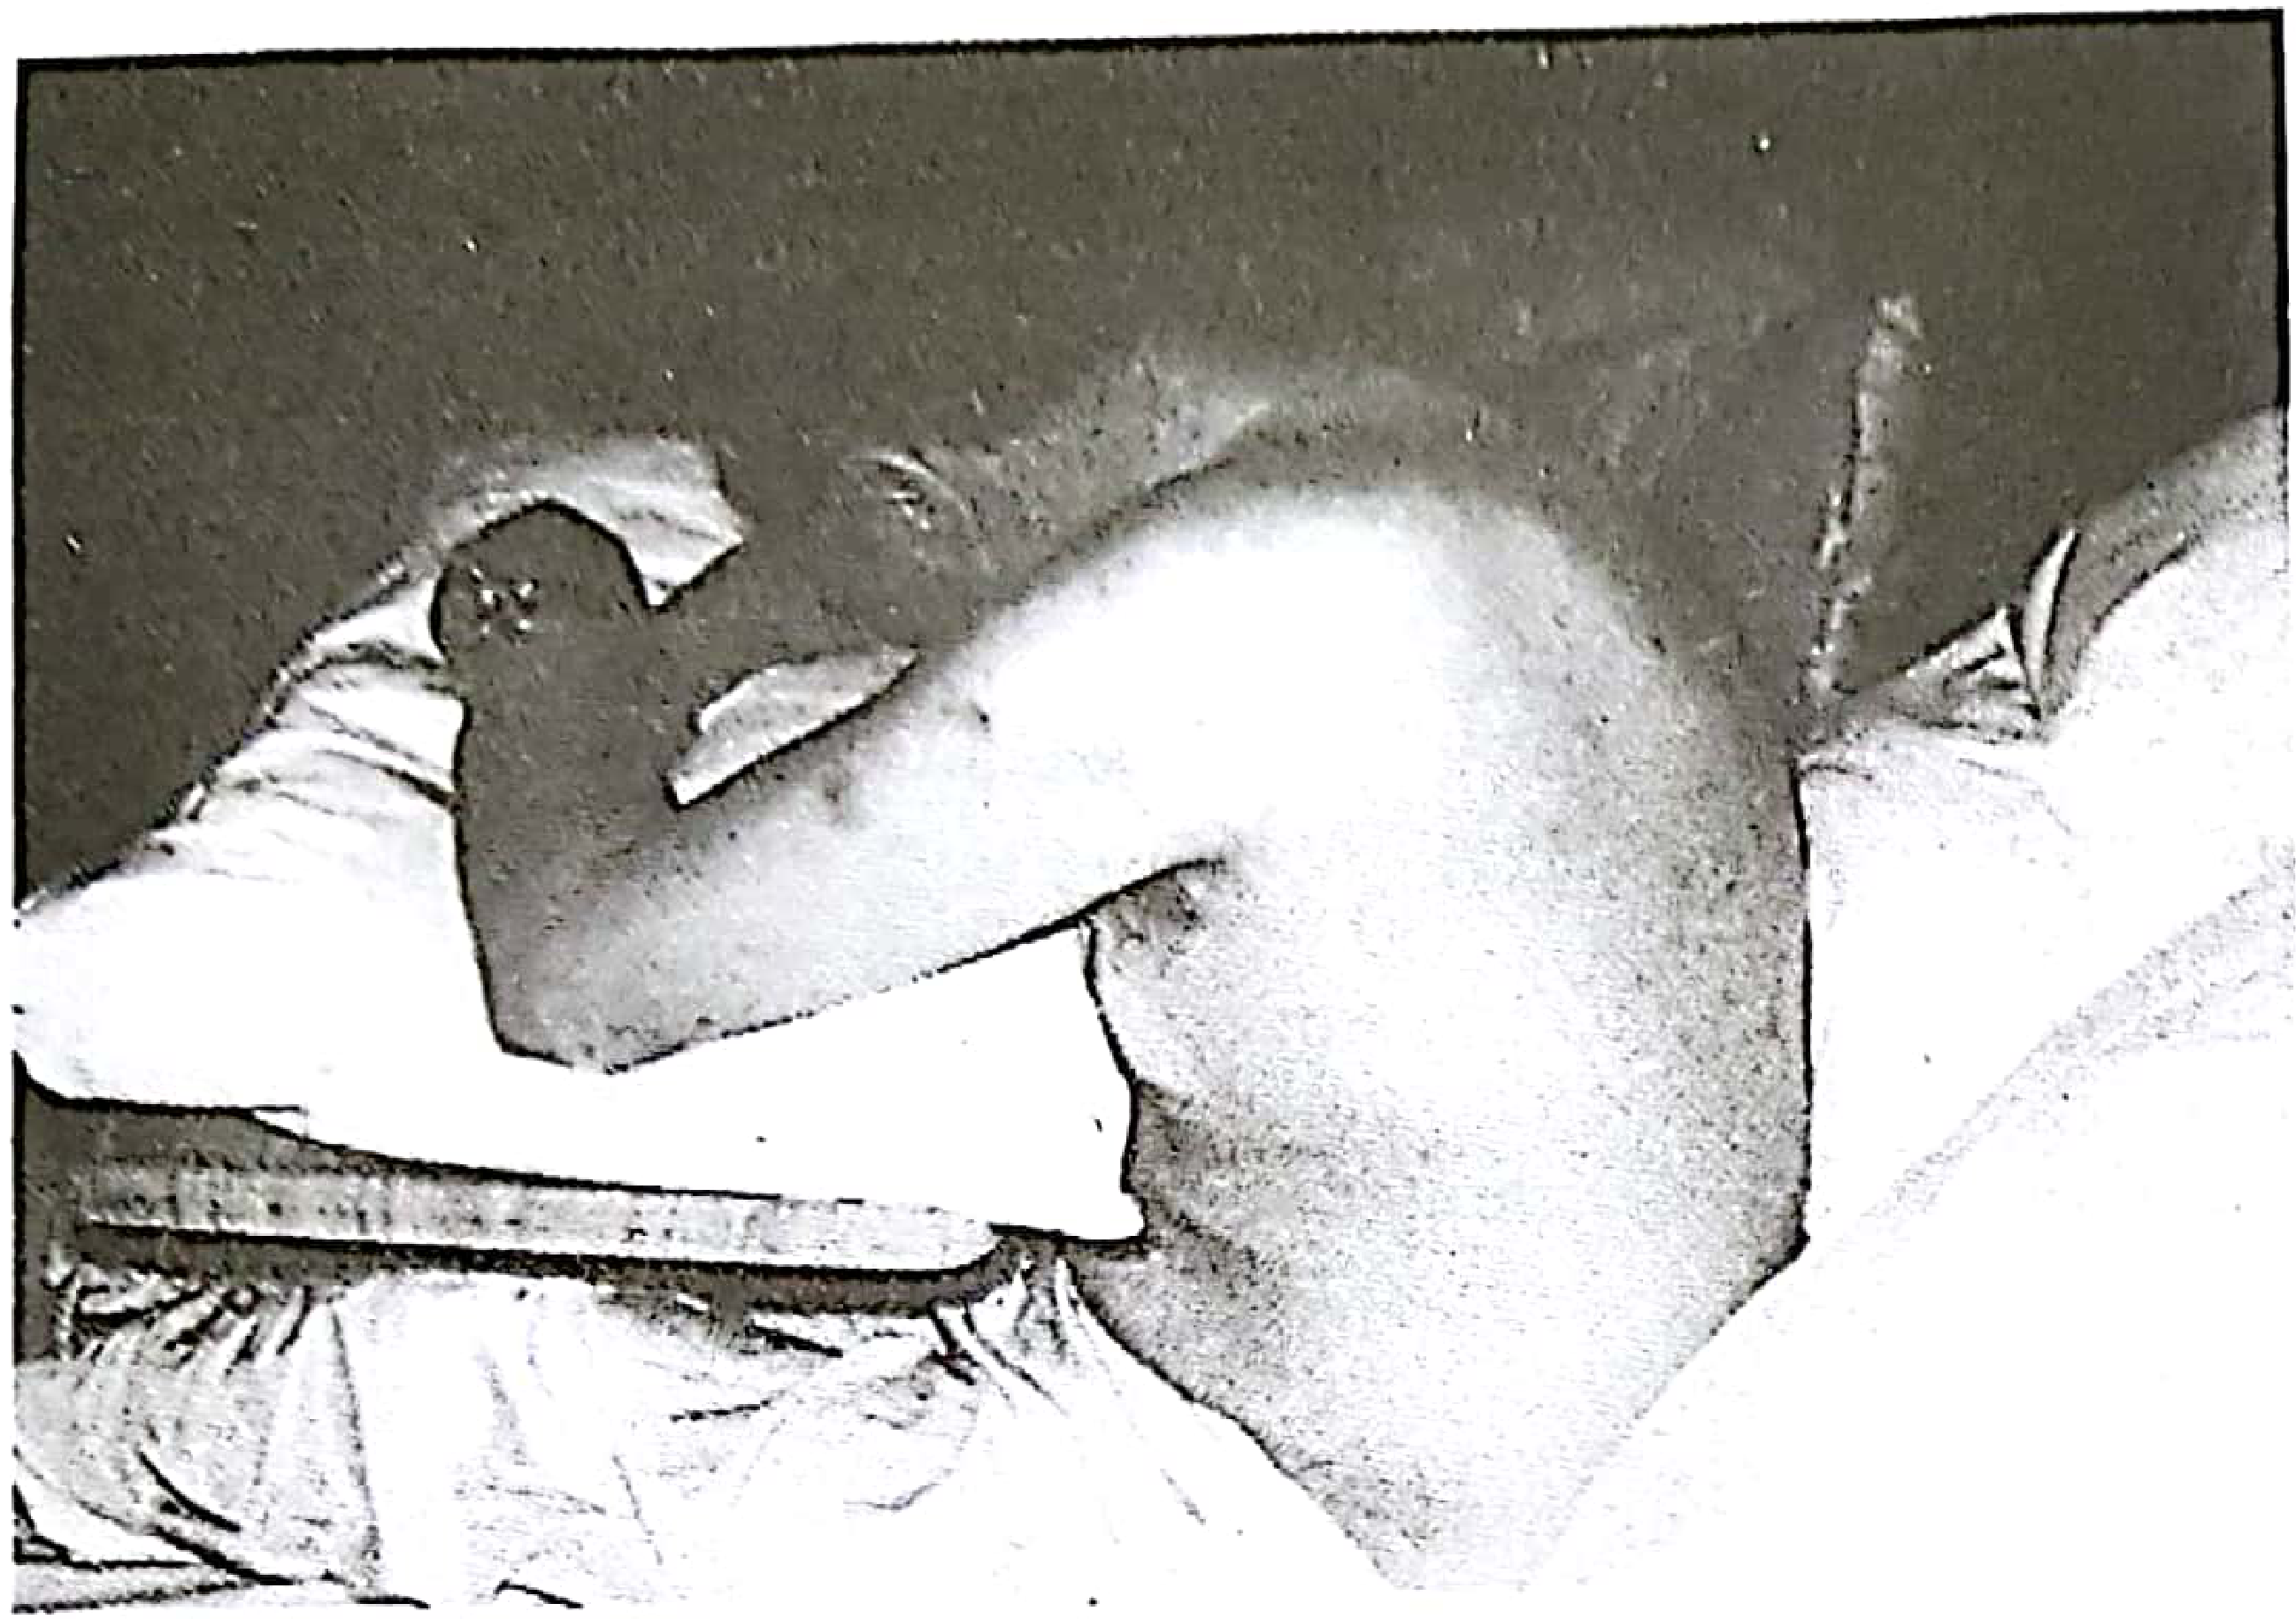
If upright is not possible: lateral decubitus (affected side down, back at bed edge, posterior axillary line) or supine with head elevated (midaxillary line used).
Step 3 - Site Selection
- Use ultrasound to locate the top of the effusion and the diaphragm
- Entry site: 1-2 intercostal spaces below the highest level of the effusion, in the midscapular or posterior axillary line
- Entry must be above the 9th rib (avoid diaphragm/liver/spleen injury)
- Do NOT go medial to the midscapular line (intercostal artery runs more centrally here)
- At least 10 mm fluid thickness should be confirmed by ultrasound at the chosen site
- Mark the site with a skin marker
Triangle of Safety (Pye's): bordered anteriorly by the anterior axillary line, posteriorly by the mid-axillary line, inferiorly by a horizontal line at the level of the nipple (men) or 4th interspace (women). This zone contains no dangerous structures.
Step 4 - Aseptic Preparation
- Clean skin with chlorhexidine in spirit; apply sterile drapes
- Operator scrubs and dons sterile gloves
Step 5 - Local Anaesthesia
- Create a skin wheal with 25-gauge needle at the upper border of the lower rib (to avoid the intercostal neurovascular bundle, which runs in the costal groove at the inferior border)
- Advance the needle along the track, infiltrating 15-20 mL of 1% lignocaine in layers, down to and including the parietal pleura
- Wait at least 3 minutes for full effect before proceeding
Step 6 - Needle/Catheter Insertion
- Assemble the aspiration apparatus: needle (or catheter) attached to a three-way tap and 60 mL syringe, with a sterile tube on the side arm
- In male adults, a small skin incision may ease needle passage
- Insert the needle at the upper border of the rib with a combination of steady pressure and a twisting motion
- To limit inadvertent deep penetration (especially for inexperienced operators), artery forceps can be clipped ~5 cm from the tip of the needle
- A distinct loss of resistance is felt as the needle passes through the parietal pleura into the pleural space
Step 7 - Aspiration
- Aspirate by pulling back on the syringe - fluid (or air) flows into the syringe
- Turn the three-way tap to redirect fluid through the side arm into a sterile container
- Repeat this cycle until the desired volume is removed
- Diagnostic: 50 mL is sufficient
- Therapeutic: up to 1-1.5 L (do not exceed 1.5 L in one session to avoid re-expansion pulmonary oedema)
Step 8 - Needle Withdrawal and Dressing
- Remove needle/catheter while the patient exhales (or performs Valsalva) to minimise air entry
- Apply a sterile dressing over the puncture site
Step 9 - Post-procedure
- Chest X-ray post-procedure - required if air was aspirated, if the patient is on mechanical ventilation, or if pneumothorax is suspected (not mandatory in all cases)
- Monitor for complications
Complications to Watch For
| Complication | Notes |
|---|---|
| Pneumothorax | Most common; risk greatly reduced with ultrasound guidance |
| Haemothorax | From intercostal vessel injury - avoid inferior rib border |
| Re-expansion pulmonary oedema | Limit removal to <1.5 L per session |
| Dry tap | Needle too short or site too high; reposition |
| Vasovagal reaction | Have atropine ready |
| Infection/empyema | Strict aseptic technique |
| Diaphragm/liver/spleen puncture | Stay above 9th rib |
Sources:
- 22nd Edition Pye's Surgical Handicraft, Chapter 17 (Chest Aspiration Technique)
- Roberts and Hedges' Clinical Procedures in Emergency Medicine, Chapter 9 (Thoracentesis)
- The Washington Manual of Medical Therapeutics (Diagnostic Procedures)
This is a shared conversation. Sign in to Orris to start your own chat.