
pre procedure activities for medical hand washing
medical hand washing technique steps diagram
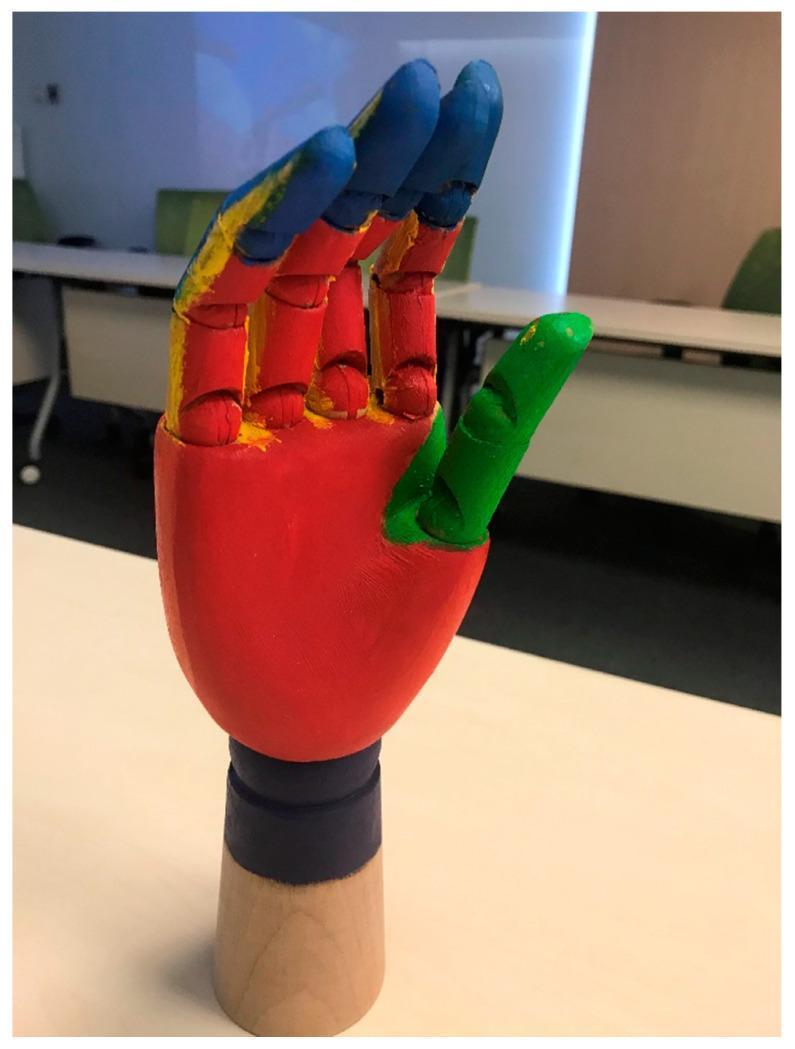
This photograph depicts a pedagogical anatomical diagram in the form of a multi-colored wooden hand model, used as a visual aid for teaching proper hand hygiene (HH) techniques. The model is segmented into seven distinct colored regions to represent specific anatomical areas of the hand that require attention during scrubbing or sanitizing: the wrist (dark blue), the palm (red), the thumb (green), the finger webs or base of the fingers (yellow), the back/proximal portions of the fingers (red), and the fingertips (blue). The use of high-contrast colors serves as a mnemonic tool for children or medical students to identify and recall the 'right steps' of hand washing, ensuring total surface coverage. This educational resource is typically utilized in public health interventions or clinical training to demonstrate the complexity of hand topography and the importance of systemic decontamination across all surfaces including the thenar eminence, interdigital spaces, and subungual areas.
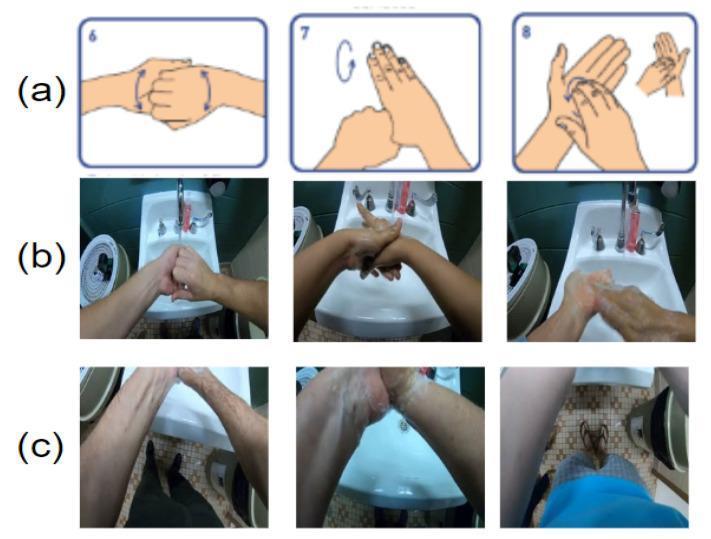
This educational image demonstrates World Health Organization (WHO) hand-hygiene protocols through three distinct formats: (a) illustrative diagrams, (b) clear clinical photographs of hand washing, and (c) egocentric/first-person view frames. Row (a) shows standardized hand rubbing techniques: interlacing fingers to clean the backs of fingers, rotational rubbing of the thumb, and rotational rubbing of the fingertips in the opposing palm. Row (b) presents real-world execution of these steps over a clinical sink, showing ideal camera visibility for monitoring hand and arm movements. Row (c) displays perspective challenges where the hands are partially or fully out of the camera view, emphasizing the impact of body size and movement on automated monitoring systems. The visual content focuses on infection control, aseptic technique, and the prevention of cross-contamination in medical and food-handling environments. Key educational concepts include the 12-step hygiene protocol, critical rubbing motions, and the technical requirements for assessing clinical compliance via imaging.
This medical illustration comprises four schematic panels (A-D) detailing the procedural steps of a hand-sewn end-to-side esophagojejunostomy, a critical reconstruction technique in gastrointestinal surgery. Panel A illustrates the anchoring phase, where the jejunal loop is positioned against the esophageal stump and secured using serosal-muscularis interrupted sutures on the posterior aspect. Panel B depicts the preparation of the anastomosis site, showing precise incisions made into both the distal esophagus and the antimesenteric border of the jejunum using a surgical instrument. Panel C demonstrates the closure of the posterior wall of the anastomosis using full-thickness interrupted sutures to ensure a secure mucosal-to-mucosal apposition. Finally, Panel D shows the completion of the anterior wall closure using a full-thickness continuous suture technique, designed to create a watertight seal. This diagram serves as an educational resource for surgical residents and specialists to understand the suture logic and layer-specific targeting required for manual alimentary tract reconstruction.
Pre-Procedure Activities for Medical Hand Washing
1. Personal Preparation (Before Approaching the Sink)
| Activity | Rationale |
|---|---|
| Remove all jewelry - rings, bracelets, wristwatches | Jewelry harbors microorganisms in crevices that soap and water cannot reach |
| Ensure fingernails are short (should not extend beyond fingertips) | Long nails accumulate pathogens and can tear gloves |
| Remove nail polish / artificial nails | Cracked polish and artificial nails harbor bacteria and fungi |
| Roll up sleeves above the wrists / elbows | Ensures forearms and wrists are accessible for washing |
| Inspect hands and forearms for cuts, abrasions, or skin breaks | Broken skin increases risk of pathogen transmission both ways; cover cuts with waterproof dressings |
| Check for skin conditions (e.g., dermatitis, eczema) | Broken or inflamed skin reduces effectiveness and may need special guidance |
2. Environmental / Equipment Preparation
- Confirm running water is available - preferably warm water (not hot, to avoid skin damage)
- Check that liquid soap or antimicrobial soap is available - enough to cover all hand surfaces
- Ensure paper towels or single-use towels are stocked and within reach (you must not touch the dispenser with clean hands after washing)
- Ensure the tap can be operated hands-free or with an elbow/foot, or prepare to use a paper towel to turn off the tap after washing
- Position yourself close enough to the sink so your hands/arms do not contact the sink basin during washing
3. The WHO 6-Step Hand Washing Sequence (Procedure Itself)
| Step | Action |
|---|---|
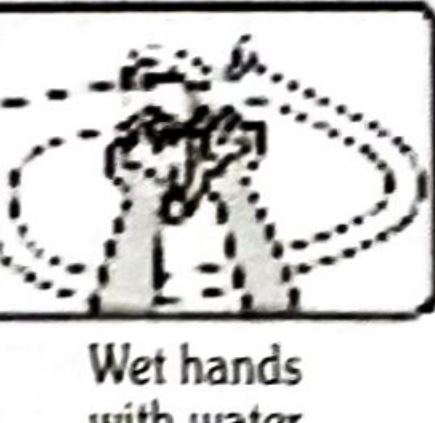
| Step 1 | Wet hands with water |
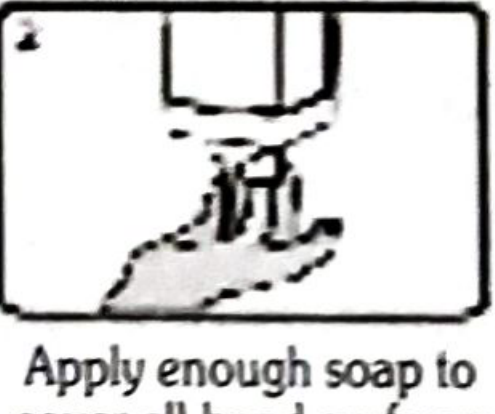
| Step 2 | Apply enough soap to cover all hand surfaces |
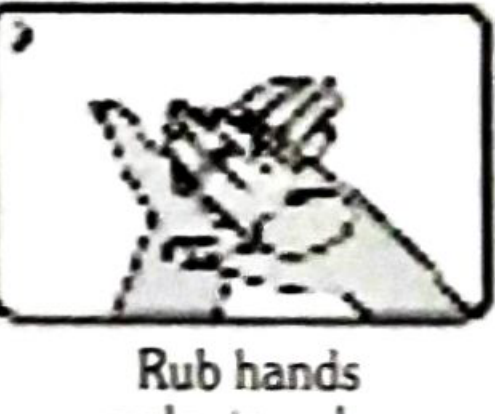
| Step 3 | Rub hands palm to palm |
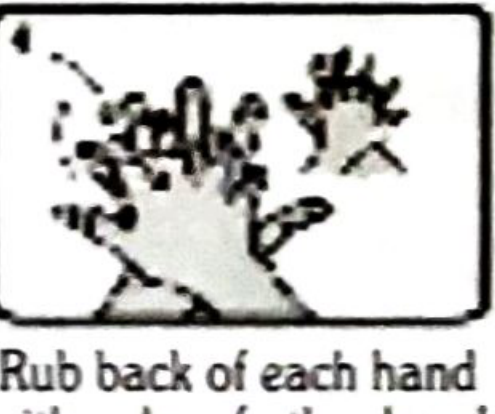
| Step 4 | Rub back of each hand with the palm of the other hand, fingers interlocked |
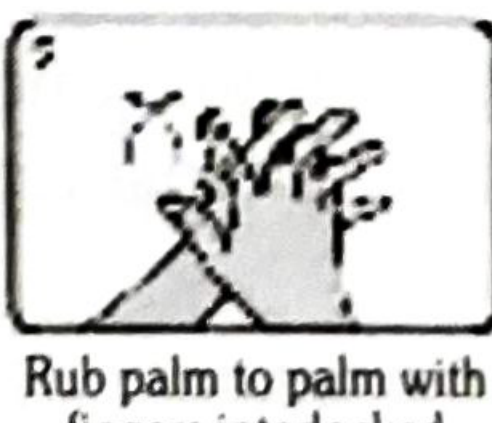
| Step 5 | Rub palm to palm with fingers interlocked |
| Step 6 | Rub with backs of fingers to opposing palms with fingers interlocked |
| Step 7 | Rub each thumb clasped in opposite hand in a rotational motion |
| Step 8 | Rub fingertips of each hand in opposite palm in a circular motion |
| Step 9 | Rub each wrist with the opposite hand |
| Step 10 | Rinse hands with water |
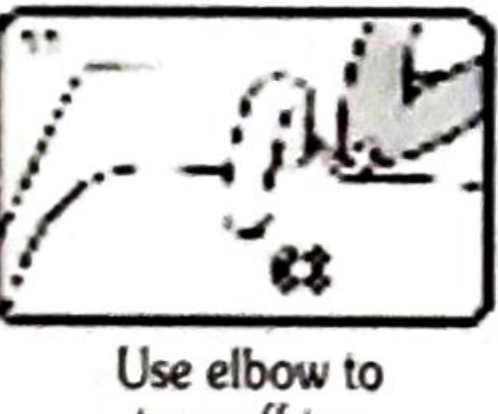
| Step 11 | Use elbow to turn off tap (to avoid recontamination) |
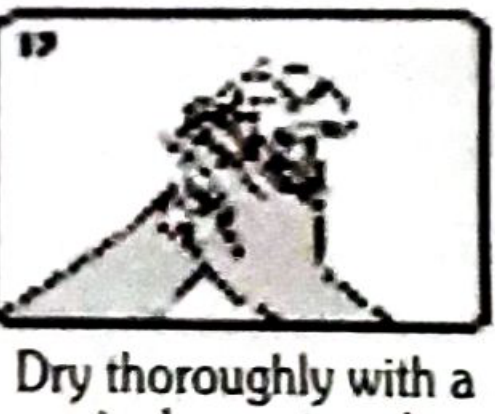
| Step 12 | Dry thoroughly with a single-use towel |
Total duration: 15-30 seconds for a hygienic hand wash; 40-60 seconds for a surgical scrub.
4. Indications - When to Perform Medical Hand Washing
- Before touching a patient
- Before a clean/aseptic procedure
- After body fluid exposure risk
- After touching a patient
- After touching patient surroundings
5. Key Points for Surgical Hand Scrub (Higher-Level Asepsis)
- Don a surgical cap covering all hair
- Don a surgical mask before approaching the scrub sink
- Open sterile gown and gloves before scrubbing (so hands are not re-contaminated afterward)
- Use a sterile brush or pick for under-nail cleaning during the scrub
- Scrub for a minimum of 3-5 minutes (institution-dependent)
Articles required for medical hand washing
Articles (Supplies) Required for Medical Hand Washing
1. Cleansing Agents
A. Plain (Non-Antimicrobial) Soap and Water
- The most basic form; removes visible dirt through detergent effect and mechanical action
- Does not greatly reduce bacterial load on its own
- Best use: When hands are visibly soiled with blood, body fluids, or proteinaceous material
- Critical use: When contamination with Clostridium difficile or Bacillus anthracis is suspected - soap and water is the ONLY effective agent against spores; alcohol does NOT kill spores
- Available as: liquid, bar, leaflet, or powdered forms - when using bar soap, small bars with drainage racks are preferred
B. Antimicrobial Soap
- Contains antiseptic agents that kill or inhibit transient and resident flora beyond plain soap
- Indicated for routine hygienic hand wash in clinical settings and before procedures
- More effective than plain soap at reducing bacterial load
C. Alcohol-Based Hand Rub / Gel / Foam (ABHR)
- The preferred agent when hands are NOT visibly soiled (per CDC guidelines)
- Works by denaturing proteins in microbial cell membranes
- Ethanol 60%-95% is most commonly used; more antiviral activity than isopropanol
- Effective against: gram-positive and gram-negative bacteria, lipophilic viruses (e.g., HIV, hepatitis B/C), mycobacteria, fungi
- Not effective against: bacterial spores (C. diff, anthrax)
- Advantages: faster, less skin-drying than repeated soap-and-water washing, effective when sinks are not accessible (e.g., at the anesthesia machine in the OR)
D. Chlorhexidine-Based Products
- The CDC agent of choice for hand antisepsis in many clinical settings
- Mechanism: cationic bisbiguanide that disrupts cytoplasmic membranes
- Active against gram-positive bacteria, lipophilic viruses; somewhat less against gram-negative organisms; minimal against tubercle bacilli
- Key advantage: substantial skin persistence (residual antimicrobial activity)
- Cautions: may cause corneal damage, ototoxicity, and neurotoxicity if it contacts eyes, ears, or meninges directly; risk of IgE-mediated allergic reactions
E. Iodine / Iodophors (e.g., Povidone-Iodine)
- Penetrate cell wall, impair protein synthesis and cell membrane function
- Active against gram-positive, gram-negative, some spore-forming bacteria, mycobacteria, viruses, and fungi
- Iodophors (iodine + polymer carrier) cause fewer side effects than plain iodine
- Disadvantage: relatively poor skin persistence; cause more contact dermatitis than other agents
F. Antimicrobial-Impregnated Wipes
- An alternative when water and soap/ABHR are not immediately available
- Not a substitute for full hand washing when hands are visibly soiled
2. Supporting Equipment / Articles
| Article | Purpose |
|---|---|
| Running water (warm, not hot) | Wet hands before soaping; rinse off soap/organisms. Hot water increases risk of dermatitis with repeated use |
| Sink with hands-free / elbow / foot-operated tap | Prevents recontamination of clean hands when turning off the tap |
| Single-use disposable paper towels | Dry hands thoroughly after washing; also used to turn off faucet to prevent recontamination |
| Nail brush or nail pick | For under-nail cleaning, especially during surgical scrub; removes organisms from subungual space |
| Hand lotion / moisturizing cream | Provided to healthcare workers to minimize irritant contact dermatitis from repeated washing; must be checked for compatibility with gloves and antiseptic soaps |
| Sterile gloves (post-wash) | Donned after hand hygiene for procedures; gloves are NOT a substitute for hand washing |
| Alcohol-based dispenser (wall-mounted, accessible) | Especially at point of care (e.g., beside anesthesia machine in OR) where sinks are not immediately accessible |
3. Summary: Which Agent to Choose?
| Situation | Recommended Article |
|---|---|
| Hands visibly soiled (blood, body fluids) | Antimicrobial soap + water |
| Hands not visibly soiled (routine patient contact) | Alcohol-based hand rub (preferred) |
| C. difficile or anthrax contact suspected | Soap and water only (alcohol ineffective against spores) |
| Before invasive surgical procedure | Chlorhexidine or iodophor surgical scrub |
| Skin care (frequent washing) | Hand lotion (compatible with antiseptic used) |
steps of procedure for medical hand washing
Steps of Procedure for Medical Hand Washing
Step-by-Step Procedure (WHO Technique)
Step 1 - Wet Hands with Water
Step 2 - Apply Soap
Step 3 - Rub Hands Palm to Palm
Step 4 - Rub Back of Each Hand (with Interlocked Fingers)
Step 5 - Rub Palm to Palm, Fingers Interlocked
Step 6 - Rub with Back of Fingers to Opposing Palms
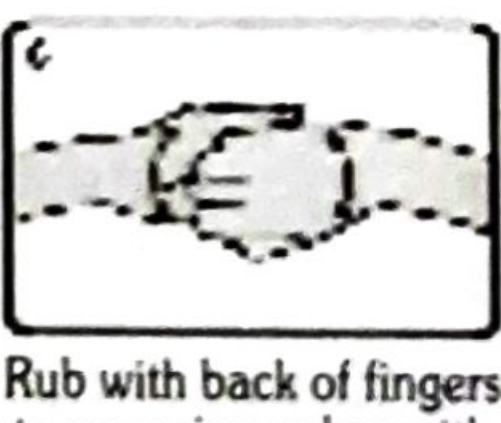
Step 7 - Rub Each Thumb in a Rotational Movement
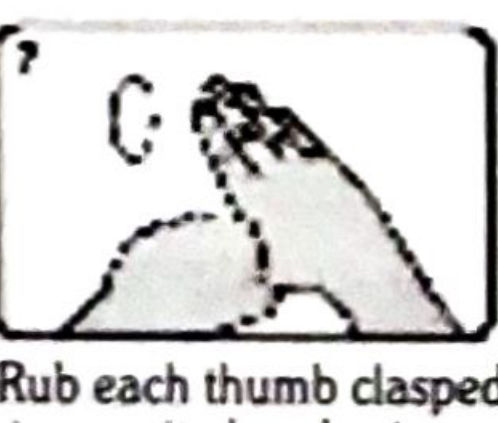
Step 8 - Rub Fingertips in Opposite Palm (Circular Motion)
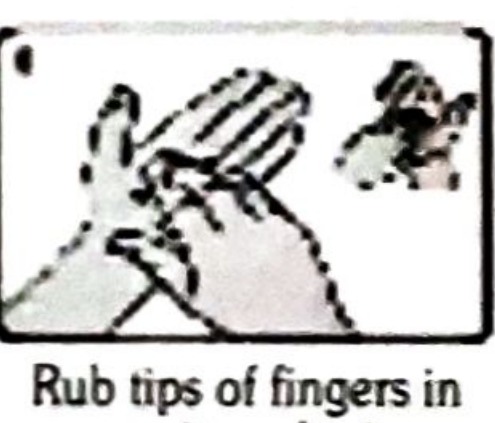
Step 9 - Rub Each Wrist with the Opposite Hand
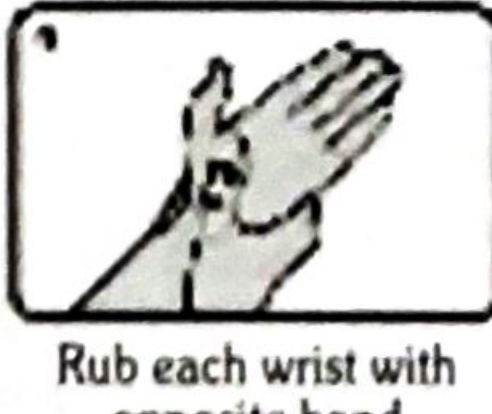
Step 10 - Rinse Hands Thoroughly with Water
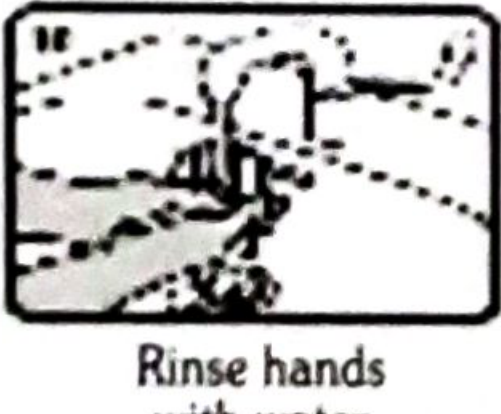
Step 11 - Turn Off Tap Using Elbow
Step 12 - Dry Hands Thoroughly
Summary Table
| Step | Action | Area Cleaned |
|---|---|---|
| 1 | Wet hands with water | - |
| 2 | Apply soap to all surfaces | - |
| 3 | Rub palm to palm | Palms |
| 4 | Back of hands, fingers interlocked | Dorsum of hands |
| 5 | Palm to palm, fingers interlocked | Interdigital spaces (palmar) |
| 6 | Back of fingers to opposing palms | Dorsal finger surfaces |
| 7 | Rotational rubbing of each thumb | Thumbs (most missed area) |
| 8 | Fingertips in opposite palm, circular | Fingertips and subungual areas |
| 9 | Each wrist with opposite hand | Wrists |
| 10 | Rinse with running water | Removes soap + organisms |
| 11 | Use elbow to turn off tap | Prevents recontamination |
| 12 | Dry with single-use towel | Prevents transfer of organisms |
Key Points
- Duration: 40-60 seconds total; minimum 15-30 seconds of active rubbing
- Water temperature: Warm (not hot) - repeated hot water increases risk of dermatitis and raises bacterial load on skin
- Soap and water is mandatory (not alcohol rub) when hands are visibly soiled or after contact with C. difficile / B. anthracis (spores are not killed by alcohol)
- Gloves are not a substitute for hand washing - wash hands after removing gloves as well
- Per Campbell's Operative Orthopaedics 15th Ed 2026: scrubbing for 2 minutes is as effective as 5 minutes for surgical hand scrub